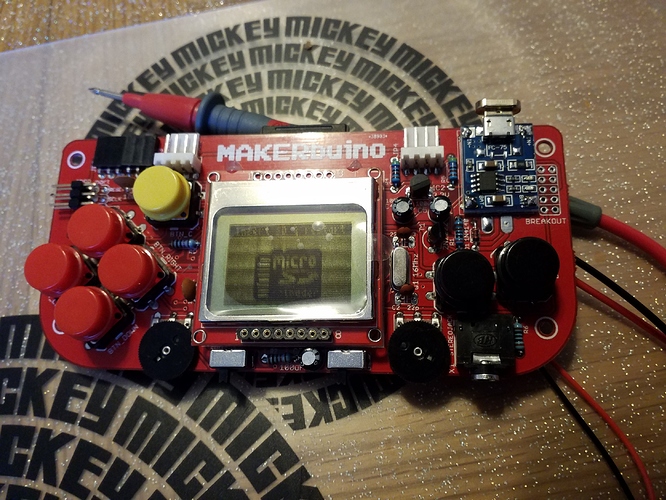
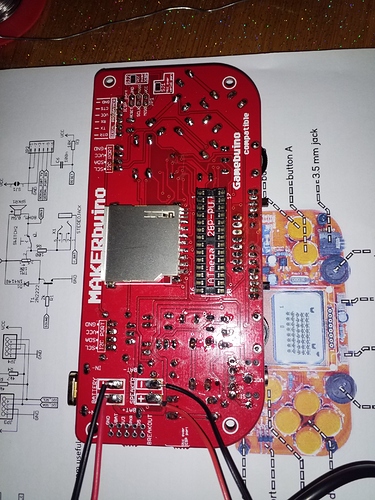
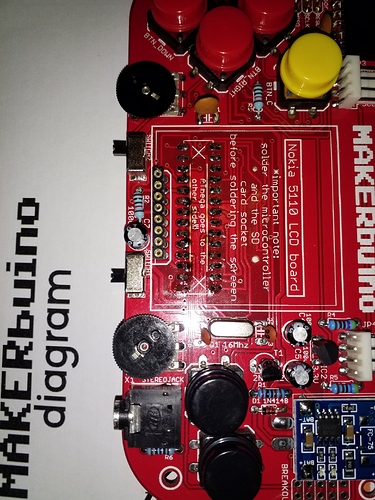
I have just had a great afternoon building my Makerbuino.
When I tested the board half way through construction, as described, the LCD lit up fine.
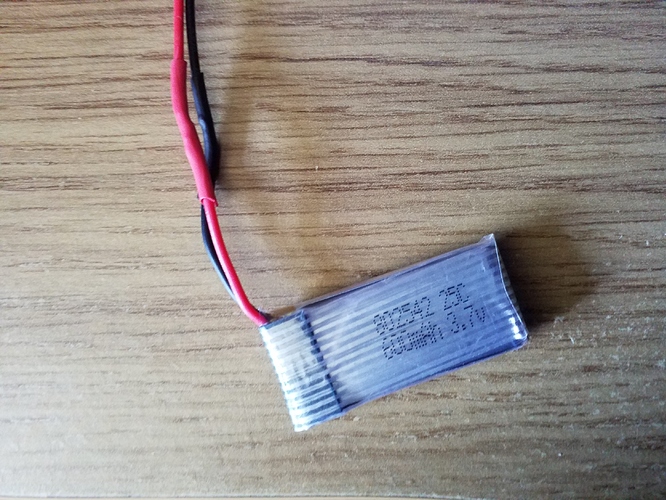
But when I completed it all I had to plug it into a USB as the supplied battery was flat. When I turned it on with the charger connected, it all appears to work, except the LCD is now very dark. Also it said to Insert SD and Restart. The SD Card has nothing on it. I downloaded a Compilation of HEX files, but I still can’t get passed the Reinsert SD and Restart. Where can I get the original copy of the SD Card software?
@Mitsuperboy, thank you for supporting MAKERbuino and welcome to the forum.
Wow, that looks like one of the first MAKERbuino kits ever produced, when did you buy it?
I am sorry that your SD card came blank, that shouldn’t have happened and is probably a result of a manufacturing mistake from mid 2017.
- Where did you download the HEX files compilation from? The original SD compilation is here: https://www.makerbuino.com/learn/
- Did you unzip the files and put them in SD card’s root?
About the screen - it seems that you need to adjust the screen’s contrast in the settings program. You’ll be able to do that after you make the SD card work.
@albertgajsak I have tried the files on it own and files inside of the folder SD card root but dont work.
@Mitsuperboy,
This sounds like a sign of a bad connection with the SD card and is caused either by:
- poor soldering joints on the microcontroller or the SD socket
or - dust particles in the SD socket
In case 1), examine and improve (reheat) any suspiciously looking soldering points (look for “blobs” of solder that need more heat").
In case 2), blow in the SD socket really hard (this will clear the dust particles) and reinsert the SD card a couple of times.
Also, send us photos of your MAKERbuino’s front and back side and we will help you by examining the soldering joints and highlighting some that need to be improved.
Don’t give up!
Yes it was an old on what i had birthday present form ebay and dad whos like doing electronic say it was a nice kit so he bot me all the diffnet bits for like i/o and comtuer boards and i love making my own games so im been using arduino and raspberry pis alot each year i do my own disney stye halloween show in a gazbo. with a load of arduino and raspberry pis
@albertgajsak
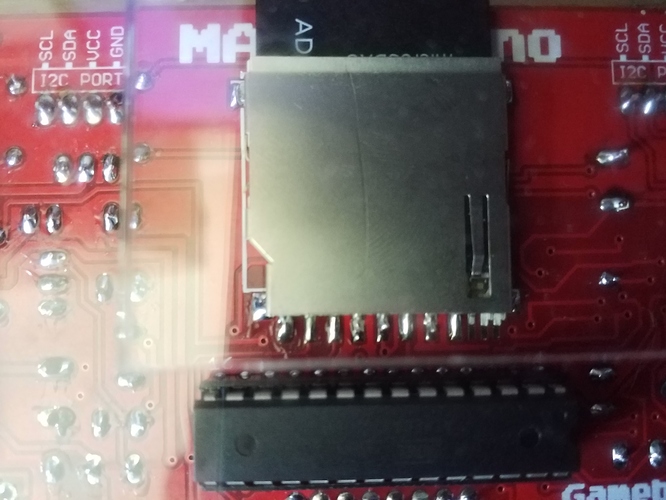
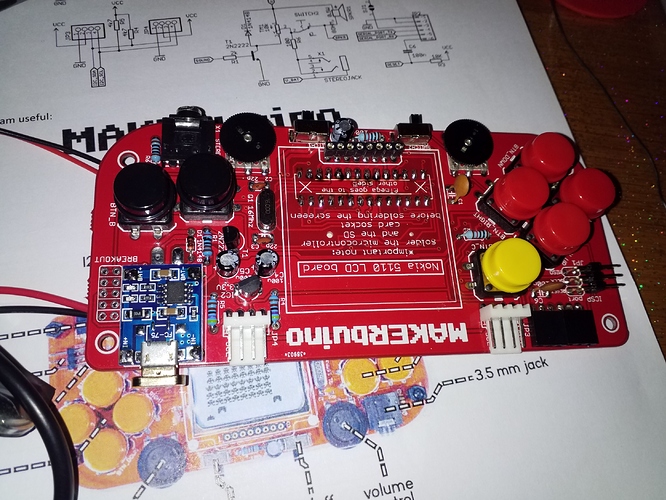
I have tried blowing in to the SD slot but I think its my solder joint i uploaded several photo for you to look at.
@albertgajsak
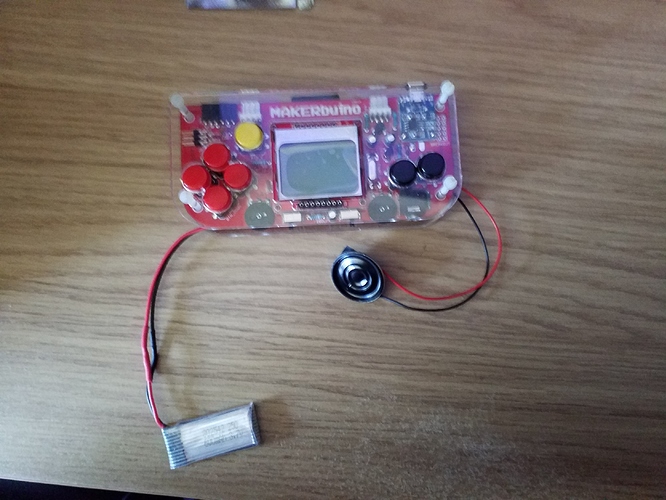
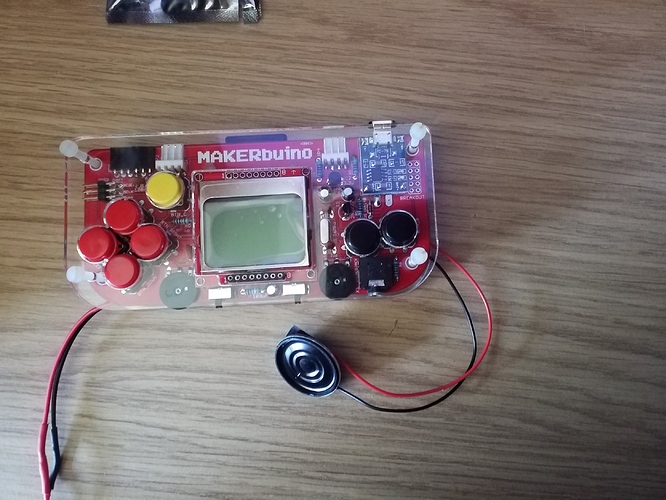
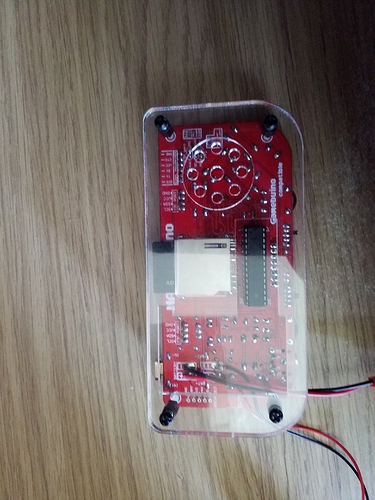
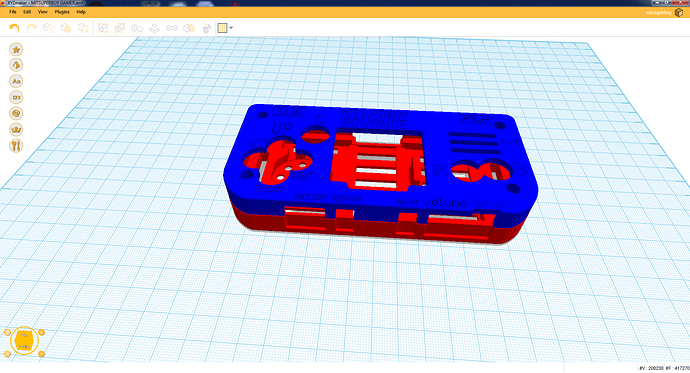
I thought you might like to see what i was doing with you spare case a (Mitsuperboy Advance) its base on the gameboy Advance
@Mitsuperboy, thank you for the photos.
I think that you have to improve the soldering joints on your microcontroller’s socket.
You’ll need to remove your console’s screen for that.
@albertgajsak Hi and thanks for helping Tim today.
He is really having fun with your kit. Although he does need supervising with the soldering. We are still experiencing problems however. There seems to be no control of the LCD Contrast, as we are still unable to read the SD Card?
Checking on other answers in the Forum, we have “blown” into the SD Card, and also reheated the ATmega Chip Socket and the SD Card Connectors. But any more reheating might damage the kit ?
Checking on one of the other Forums it shows the ATmega Legends 1-28 in a different orientation to Tim’s?
This must be an older kit as you suggest, as the continuity tests do not coincide with the Schematic we have.
It was a kit bought from eBay and sold as a version 1, if this helps in identifying the problem we have.
Kind regards
Tim’s Dad
@Mitsuperboy,
Thank you for reheating the soldering joints and sharing the photos with us.
Yeah, this is one of the first 100 MAKERbuino kits ever produced, the design was slightly modified after that.
I’m not quite sure why the device won’t work as all soldering joints look OK to me now… it could be caused by a manufacturing defect (our fault) or something else.
Please, can you send the device (we only need the PCB) to our address:
CircuitMess,
Maksimilijana Vrhovca 11,
47000 Karlovac,
Croatia
Ship the board using your national post via registered tracked airmail service. It shouldn’t cost you more than 9€.
I’ll personally make the device work and send it back to your address ASAP.
Thank you for your patience and understanding.
@albertgajsak,
Many thanks for the offer to make Tim’s device work.
Before we send it to you, is there something more that we can check at this end?
We tried continuity testing, but the schematic we have from the website, and other photos on the Forum, did not seem to be the same. Is there a schematic for this older type board that you could send us? This would be good practice for Tim for fault finding.
He was hoping to start coding his first game and doing some graphics soon. But if you think it best to be looked at by yourself, we’ll get it posted soon.
Kind Regards
Tim’s Dad
Hey,
thank you for the effort, I think that it’s best that you send us the unit back, I’ll take a look at it and fix it ASAP.
Thanks
@albertgajsak
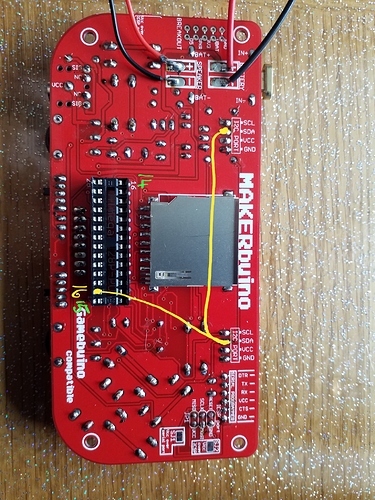
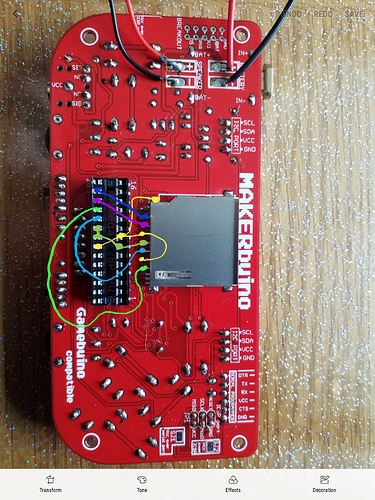
Me and Dad have tested the sd connector and the main chip with a meter. One of the sd connector pins is not connected to anything? We think this is Pin 1 so_cs. According to the drawing this should go to pin 16 on the chip. But chip pin 16 goes to I2C SDA pins. The board is labelled 1 to 16 and 17 to 28 which confused us for a while. Photos of what we found attached.
Just to confirm, send board only but with LCD module, Chip, and SD fitted.
Tim
Yes, please send board only but with LCD module, Chip, and SD fitted.
Thanks
Great stuff, thank you so much!
I’ll keep you updated.
