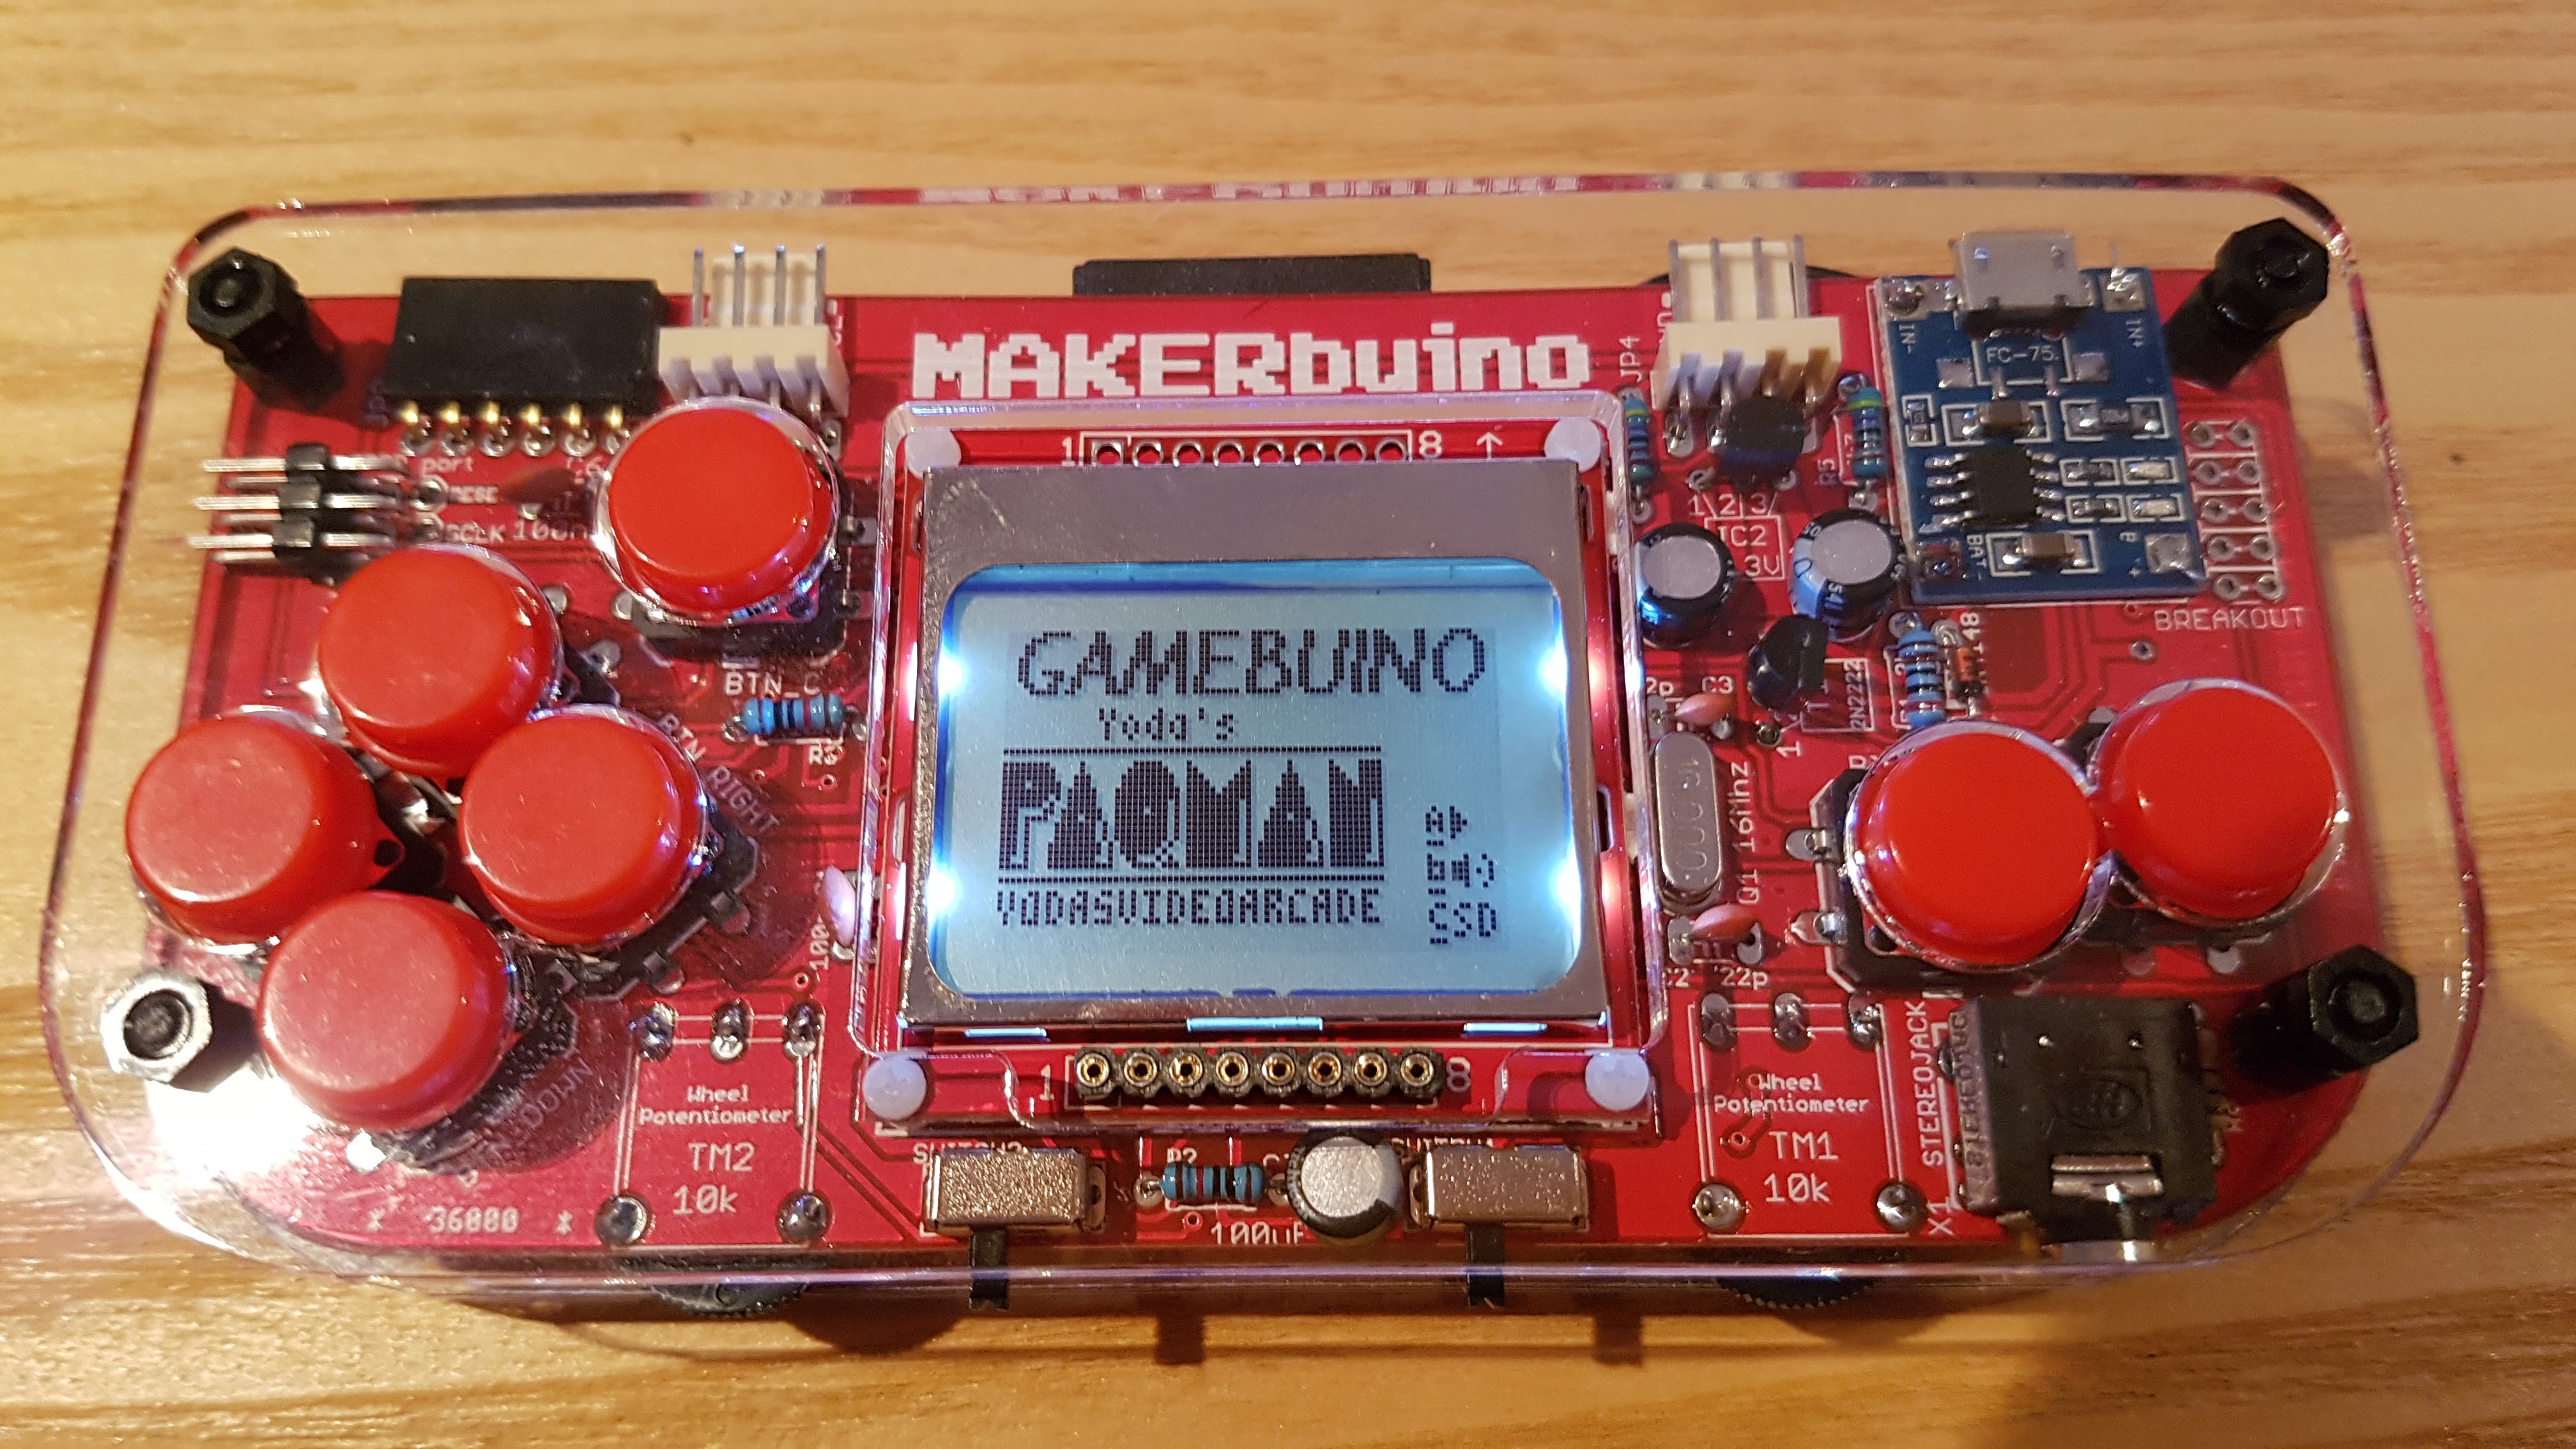
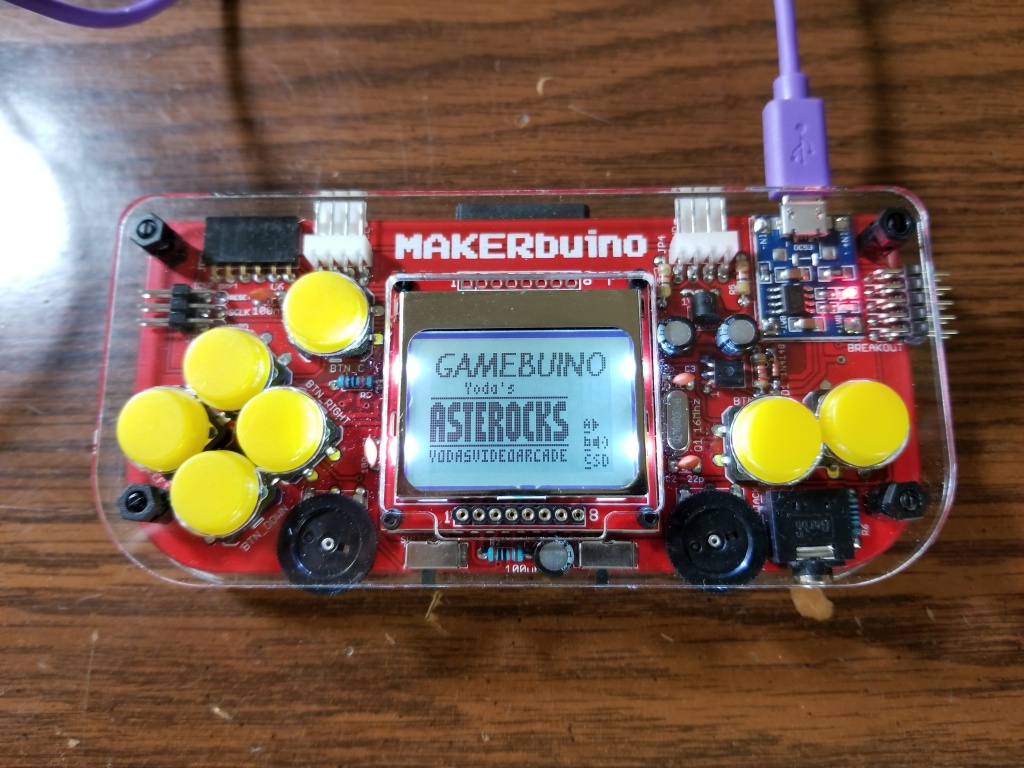
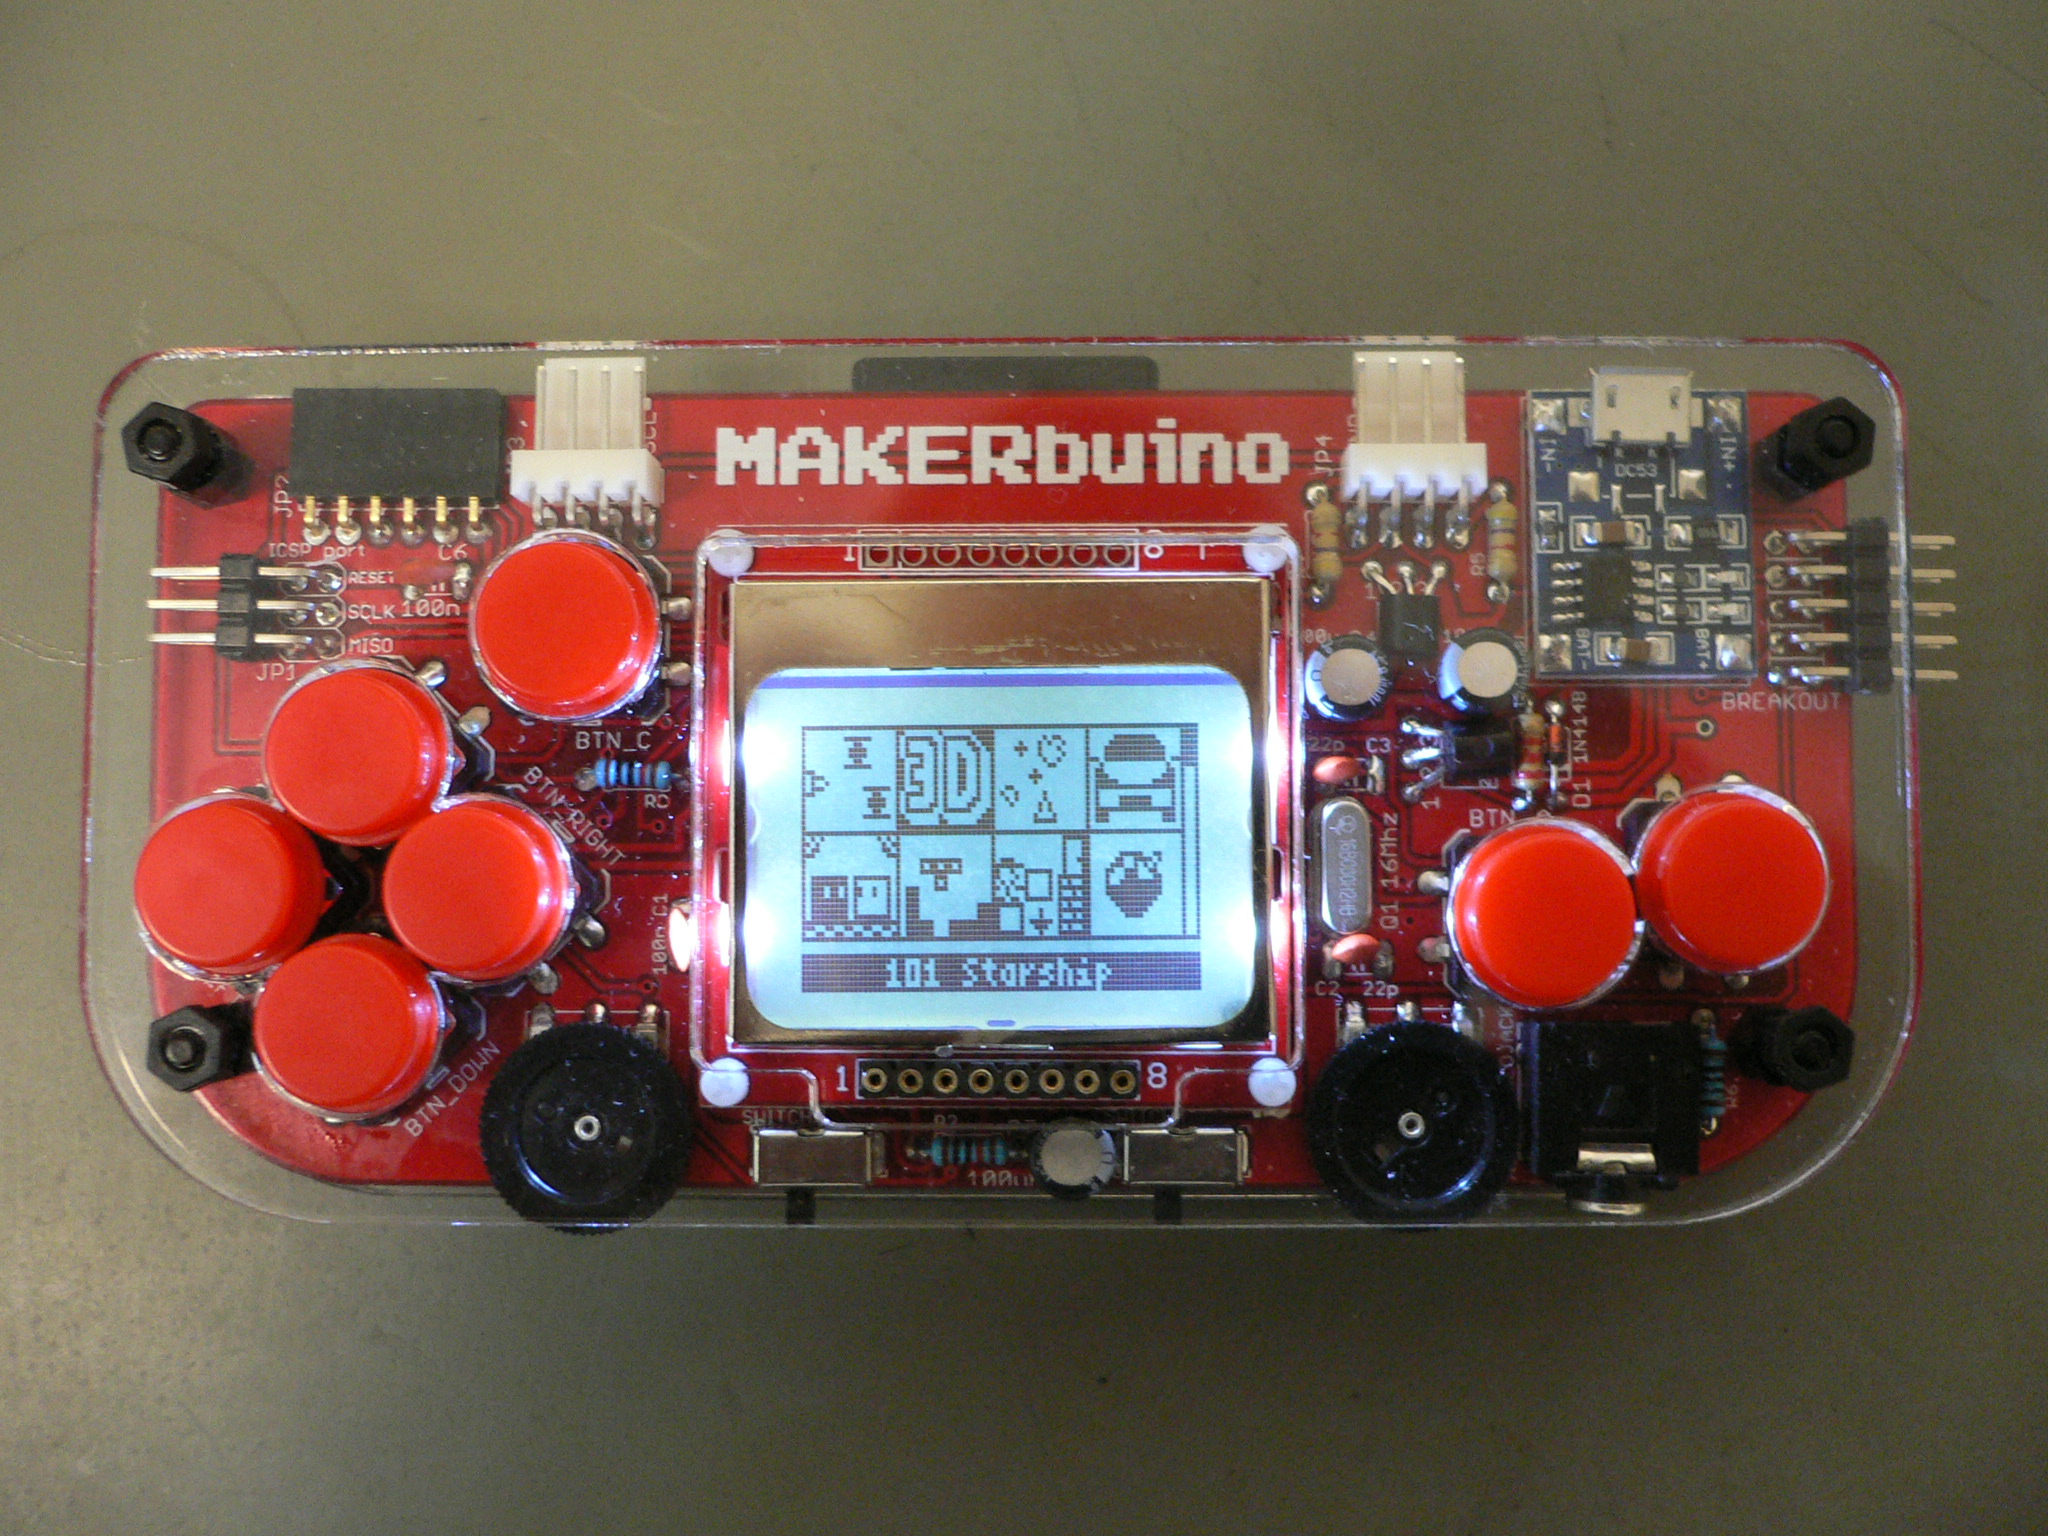
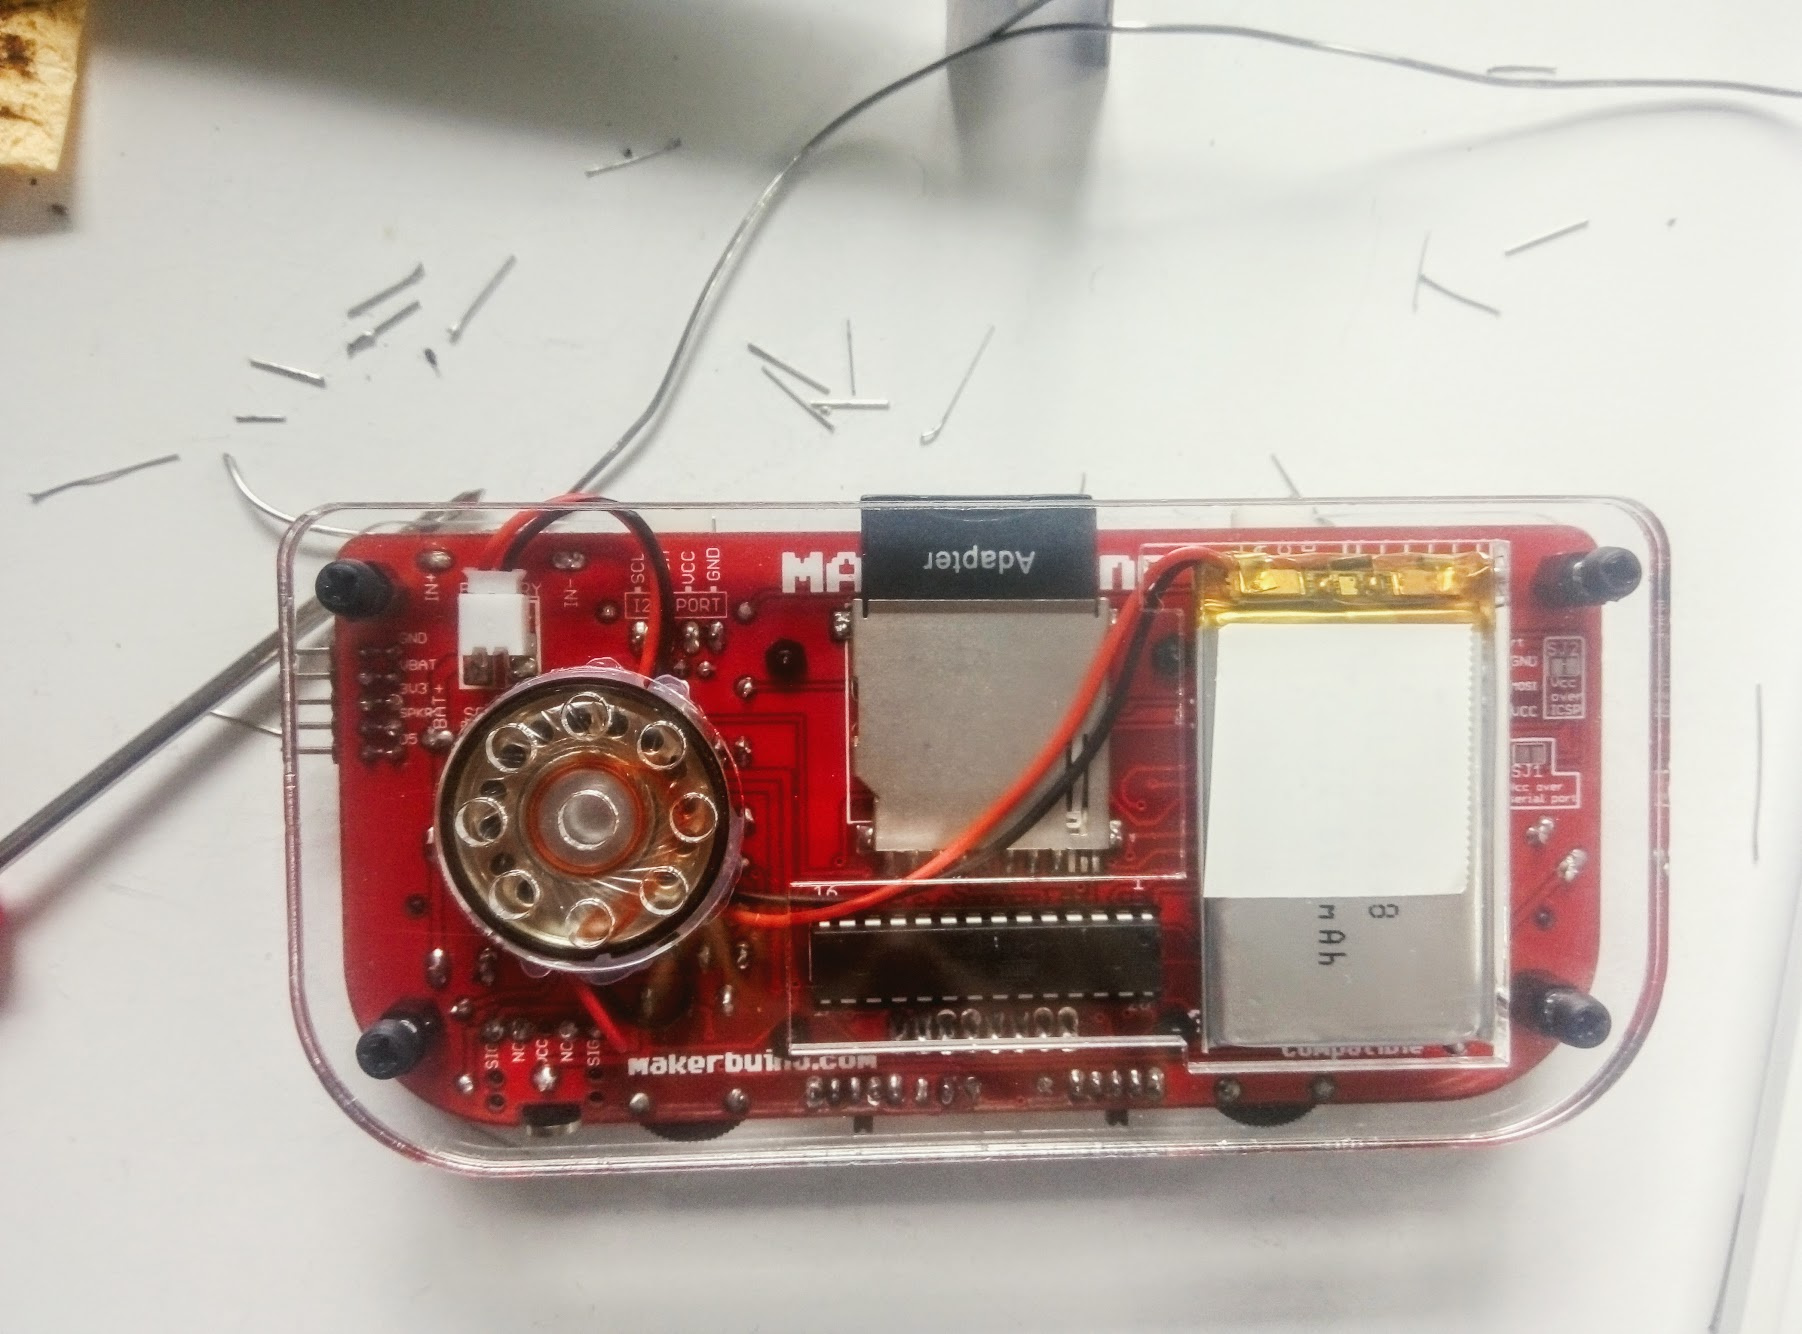
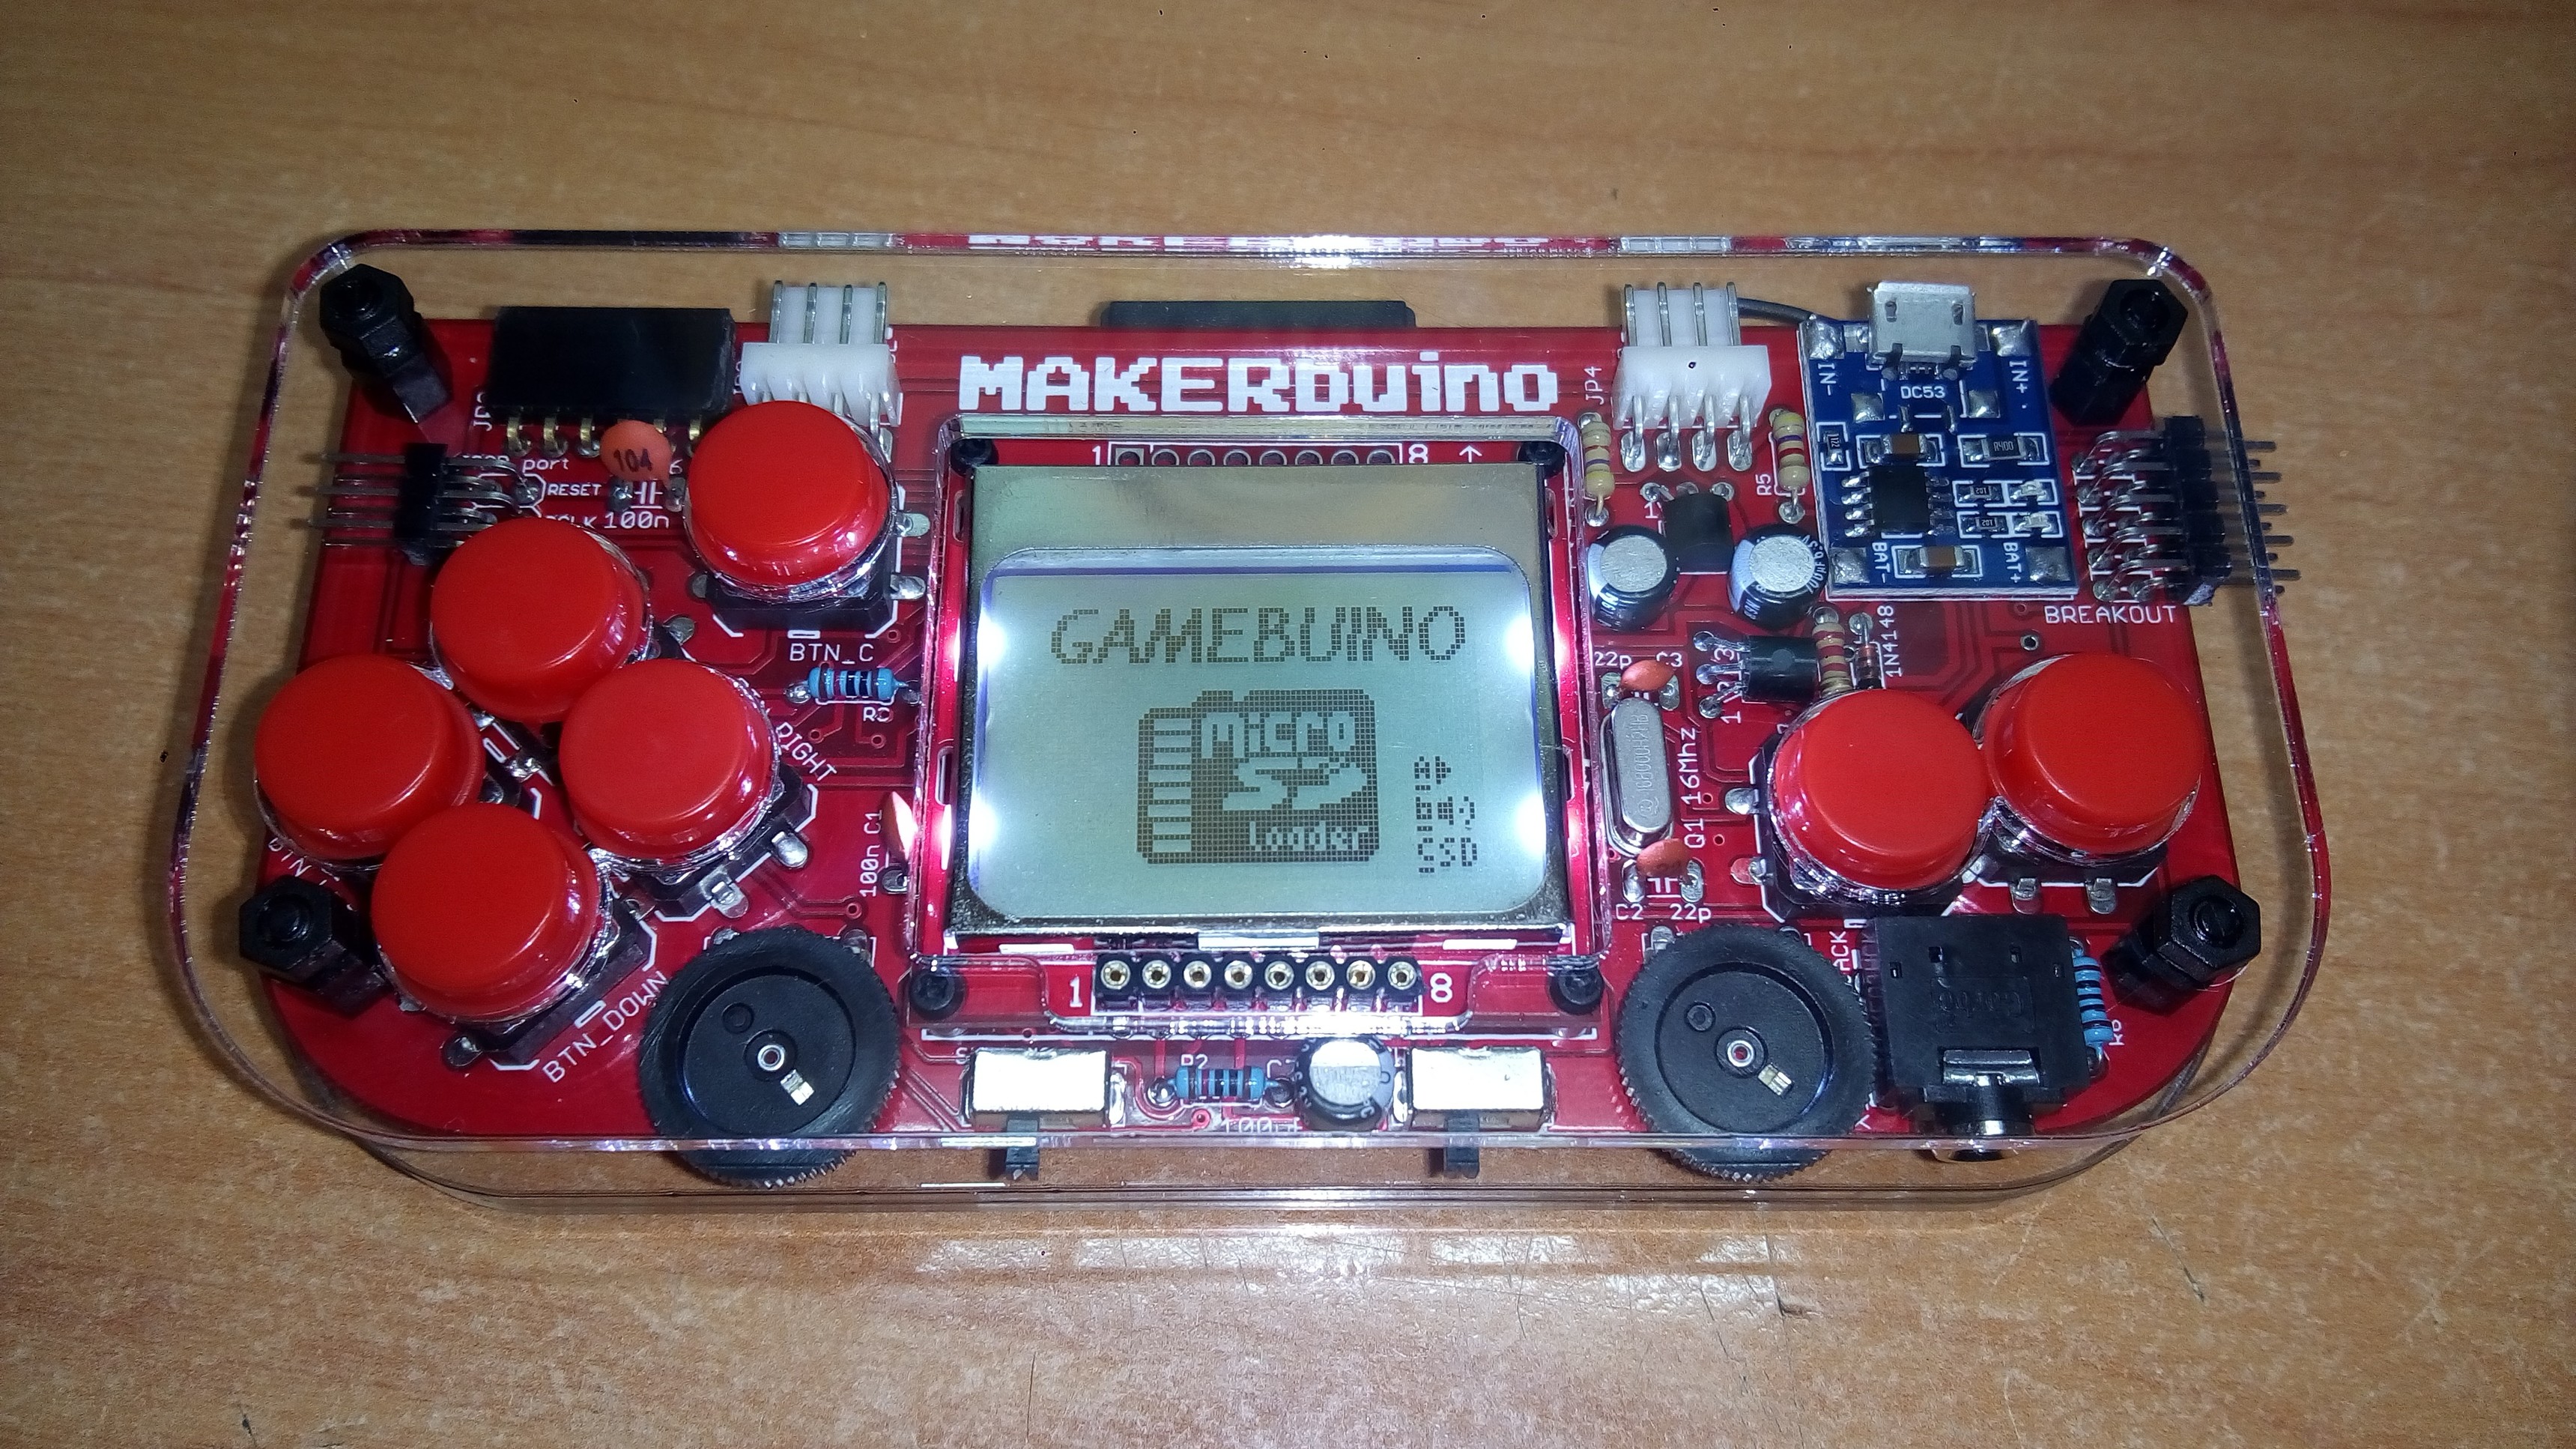
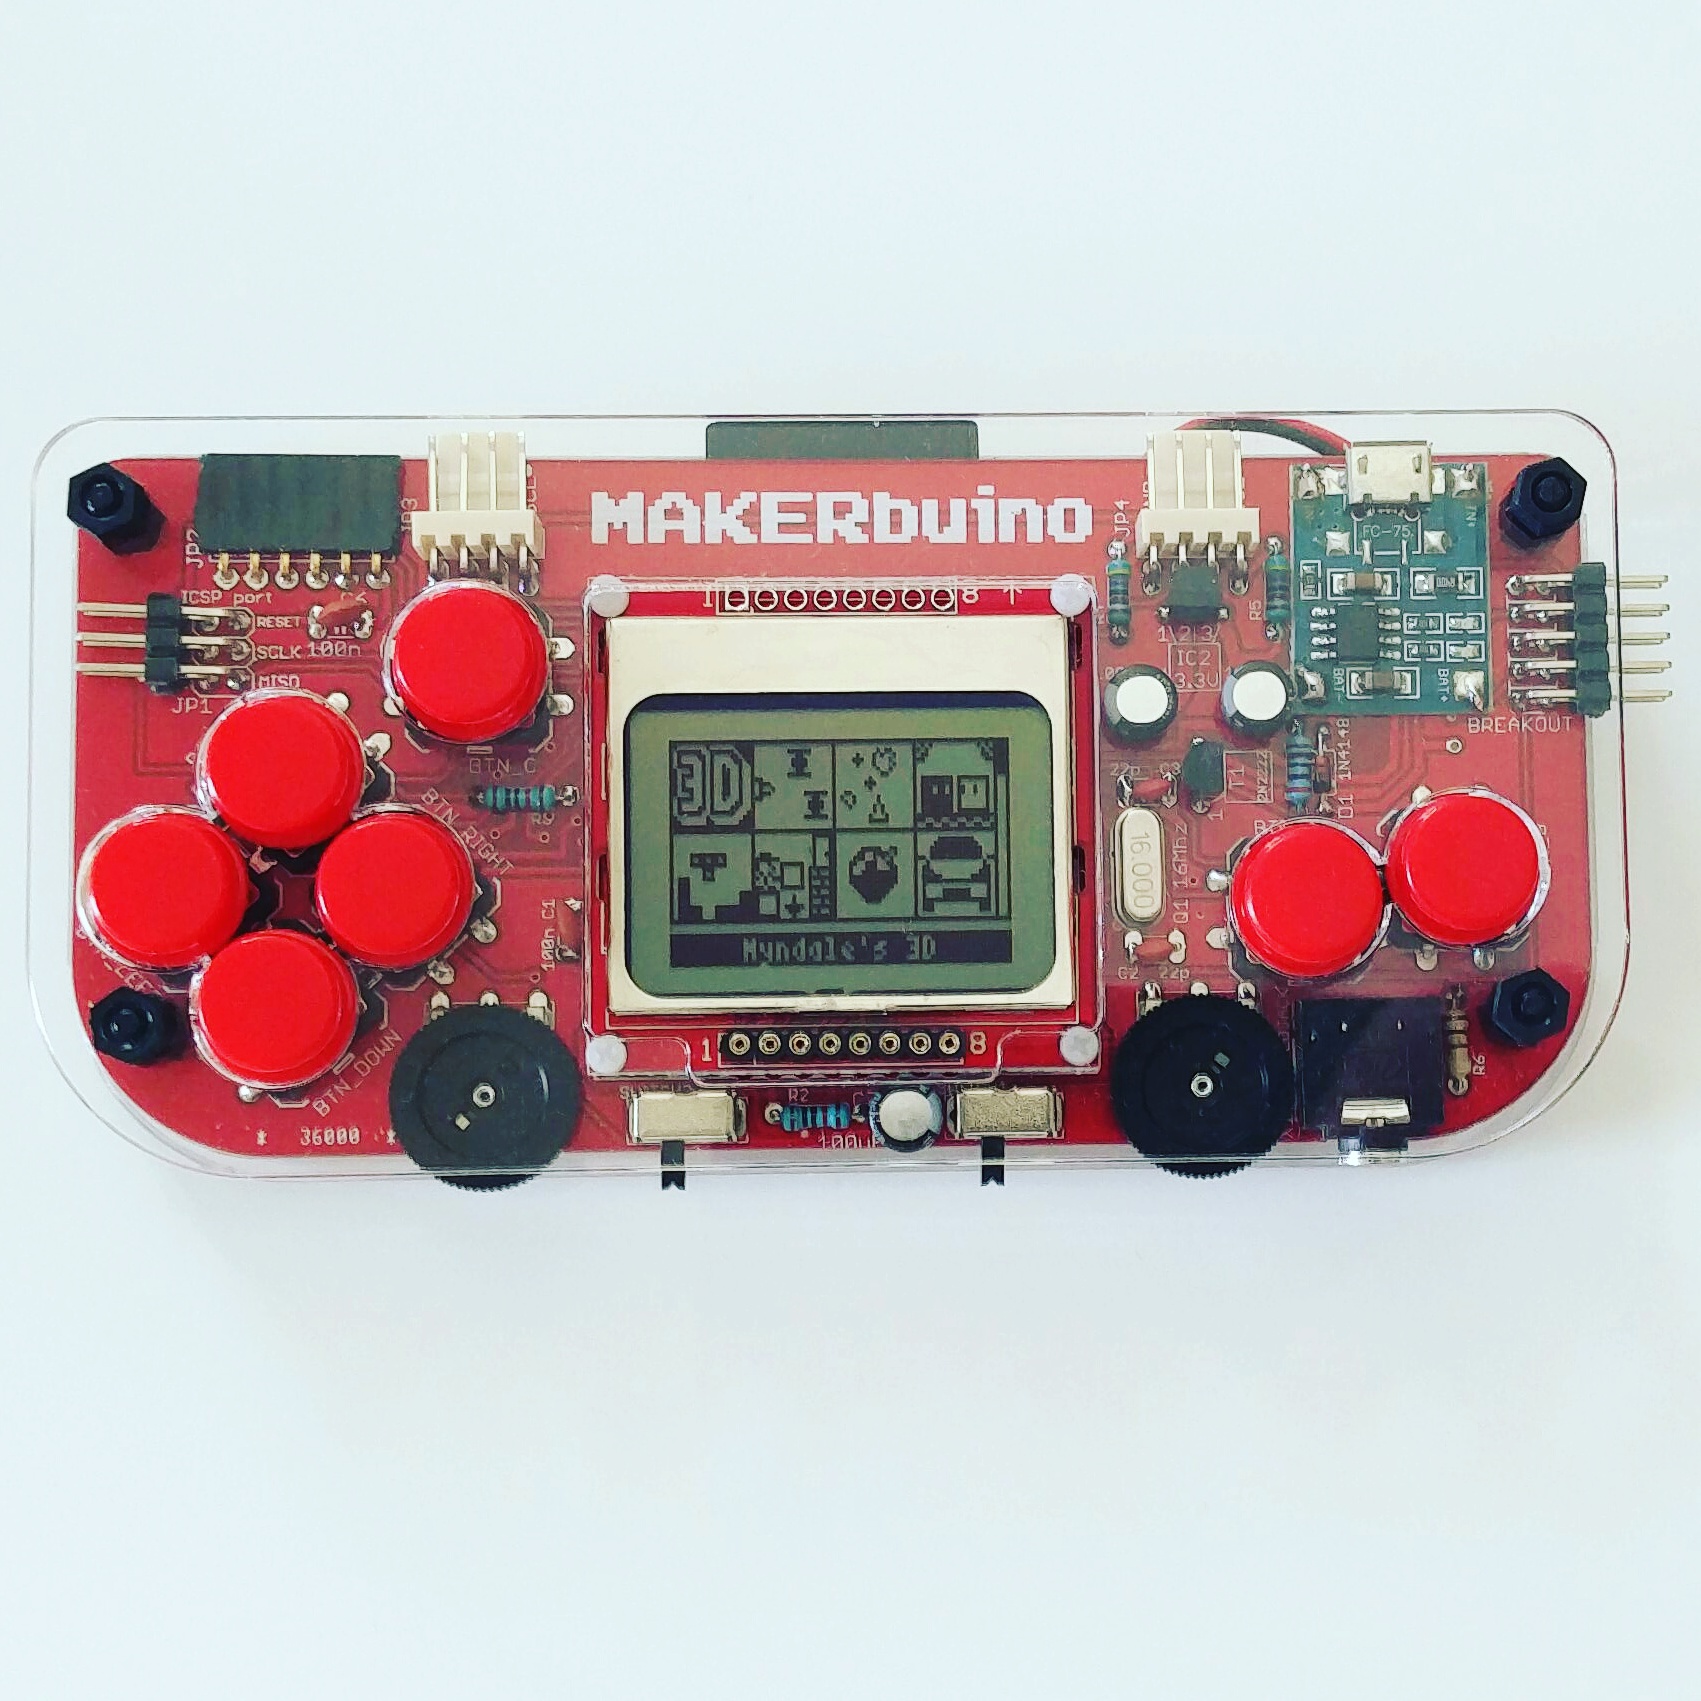
Received and built by my 9 year old son (with minimal help from me) - his FIRST ever soldering experience which he absolutely nailed!!!
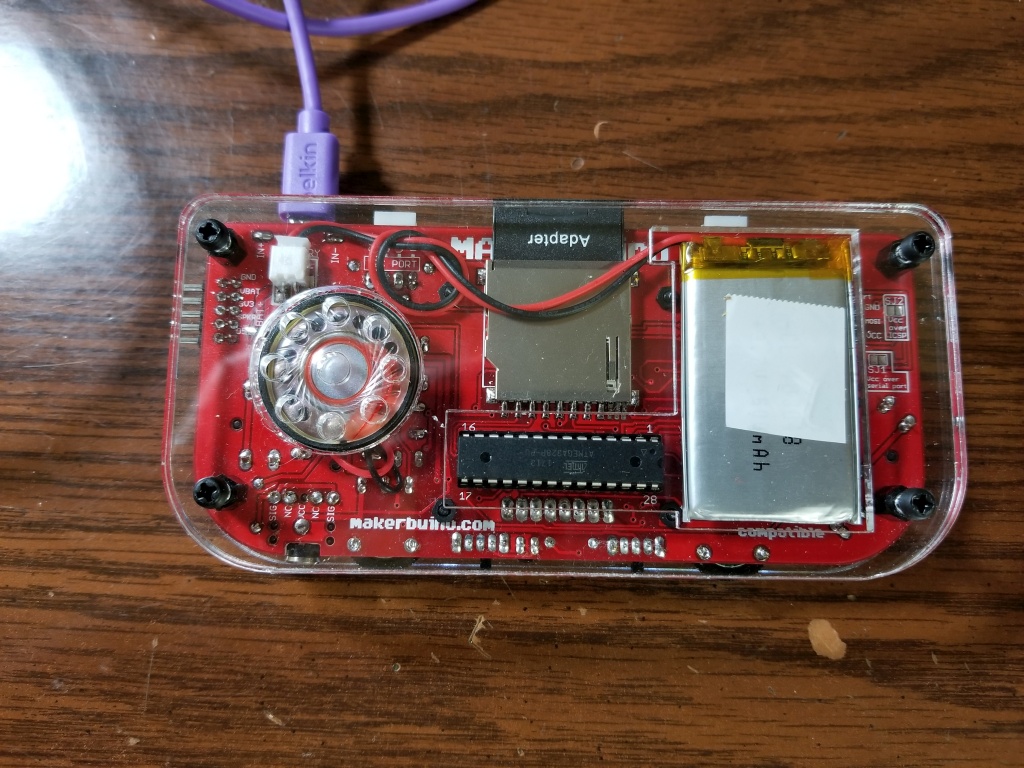
The only problems we encountered were the missing piece of solid core wire (which we replaced with the legs of components), and that the guide was rather out-dated and the images didn’t flow properly with the description.
Question: I ordered a double inventor kit. I got the wires, breadboard, GPIO expander, various components (leds, resistors etc.), but not the accelerometer/gyroscope. The Kickstarter page says “This kit is for more advance users. It comes with a set of MAKERbuino compatible hardware components, some wires and a breadboard. You’ll get an i2c GPIO expander and a gyroscope & accelerometer module so that you can expand MAKERbuino’s hardware capabilities.”
How can I get these two missing accelerometer and gyroscopes (one for each kit)?
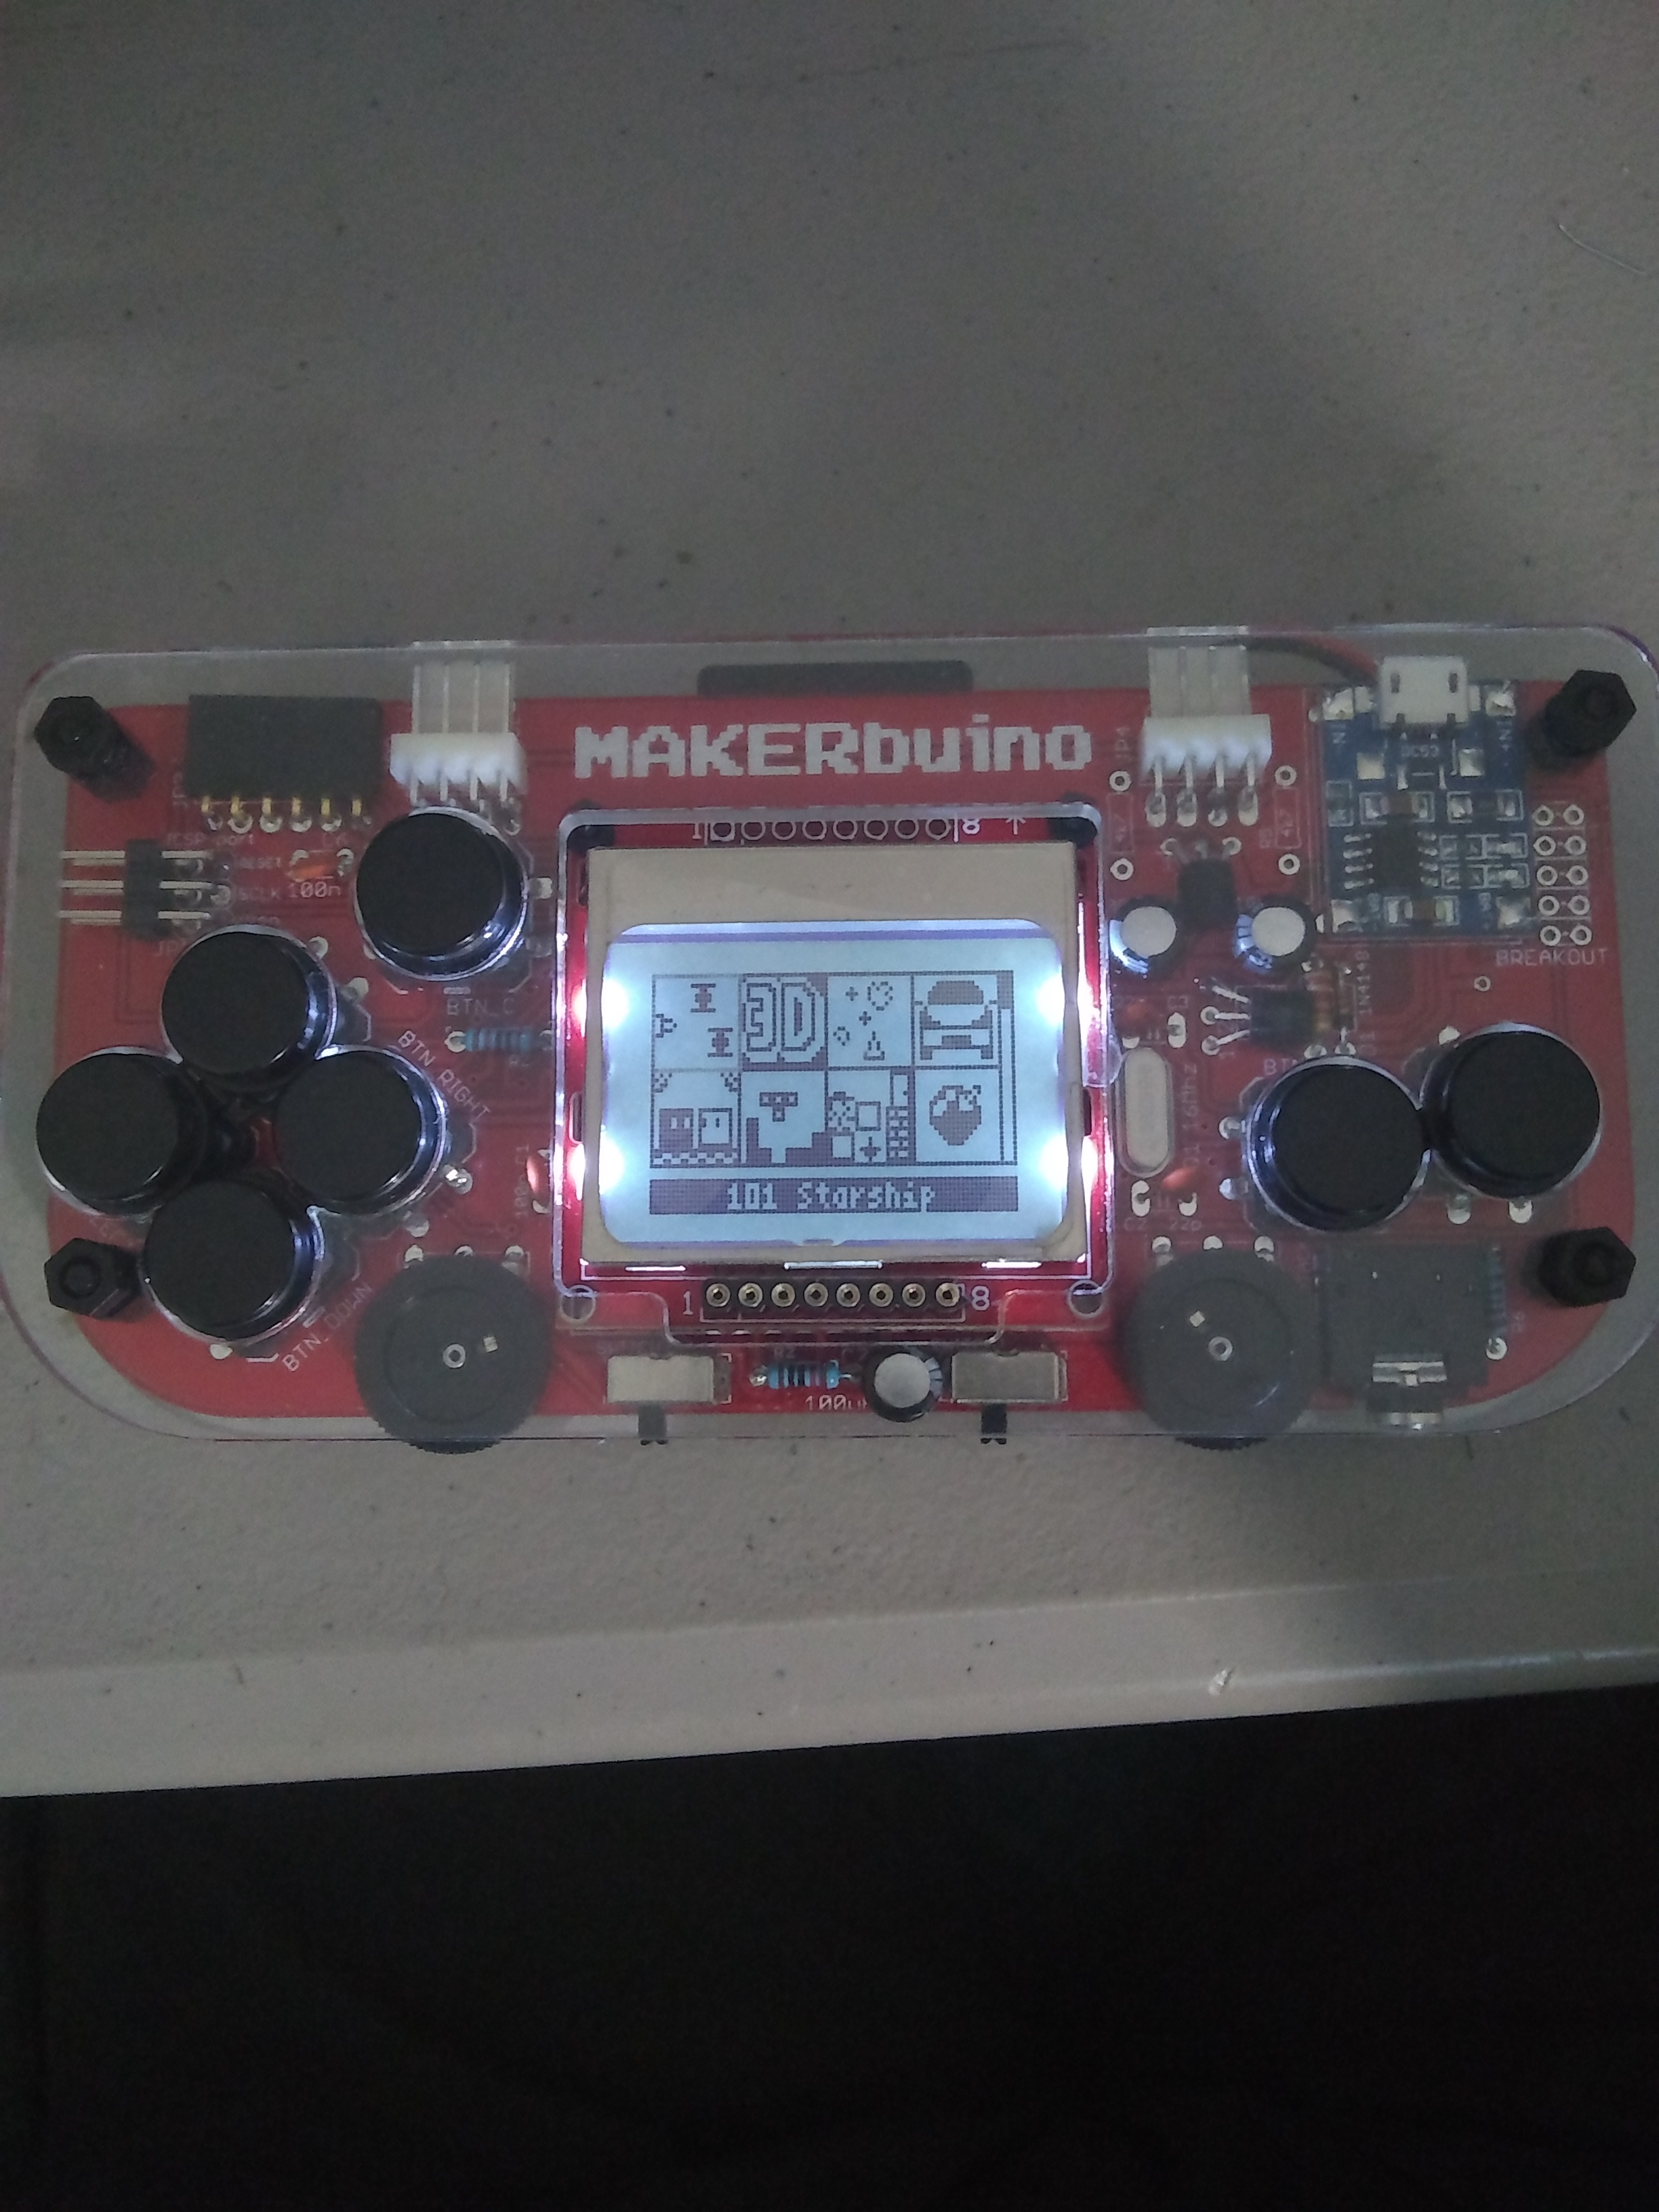
I’m thinking of writing a little review about my building process, I took some pictures as I went along, don’t yet know in what part of the forum that would belong.
I also had some confusion about the resistors and was not sure whether the ceramic capacitors could be installed reversed like resistors, shows I lack some basic knowledge about the components. It was fun to have a multimeter and some spare resistors that are more clear to me.
Perhaps a guide could include more info about the components, so you learn about the stuff you’re building as you go along.
But before I elaborate too much into a review I should conclude that’s my answer as to where I should put my review: the Website and tutorials section) …
Cool i see you have bought the inventor’s kit. Did you know how to use it ? I dont have find the documentation / examples to begin to use. I have received same components (blue, red, green, incolor leds, resistors, buttons, photo resistances but no explainations of that i got and no gyroscope & accelerometer)
We can find the schemes to use these componants with aduino, but it’s could be cool tohave explanations of how to use Makerbuino to control them and a little description of what they ae and could be use with simple examples.
I see this list on shop:
400p breadboard received
PCF8574 remote I/O expander board Not received
6x6x6 pushbutton x8 received
MPU6050 gyroscope & accelerometer module Not received
10cm dupont jumper wire M-M x40 received
10cm dupont jumper wire M-F x40 received
10mm dupont jumper wire F-F x40 received
5mm RGB LED, common anode, diffused x2 received
100ohm resistor, 0.25W x22 received
10k ohm resistor, 0.25W x4 received
LED 5mm, red x3 x4 received
LED 5mm, green x3 x4 received
LED 5mm, blue x3 x4 received
LED 5mm, yellow x3 not received
LED 5mm, white x3 x4 received
10k potentiometer x2 x3 received
IRF540N MOSFET x1 x2 received
LDR (photoresistor) x2 received
i received 2 others led with 4 pins and 2 other leds withe


