The buttons just click on and off. Buy some more from China via eBay 
[quote=“NickA, post:21, topic:503”]
The buttons just click on and off. Buy some more from China via eBay
[/quote] I have no poblem with buttons, i just noticed that the inventor’s kit i eceived was not as described that in the shop
I have not the same leds that described (and i don’t care about this but mainly i have no MPU6050 gyroscope & accelerometer module and i don’t know if PCF8574 is an important part of the kit
@Jean-Charles_Lebeau if you have missing parts then you need to send the team a email at contact@makerbuino.com
And I don’t think they’ve released any manuals or documents for the Inventors kit yet.
@bitfogav Thanks i’ll make it but before can you just say me if PCF8574 remote I/O expander board is another board i don’t have got or if its the name of the serial board ?
Yes it looks like you should also have the PCF8574 board, its an expander board. its not the serial board that you use to upload more games with.
Thanks bitfogav for your answers 
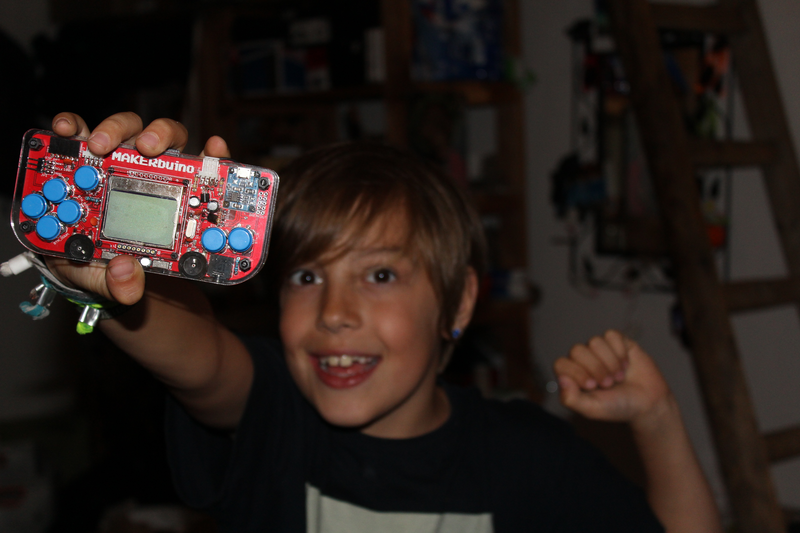
I made the Kit with my 8yo god child. It was a lot of fun even if we had to find there where some problems with the software and also some parts missing. Luckily I ordered two kits so we could compensate the missing parts (some resistors and the voltage regulator). It was only confusing that some games on his sd card didnt work (battery low error), but on my sd card everything worked fine.
1 Like
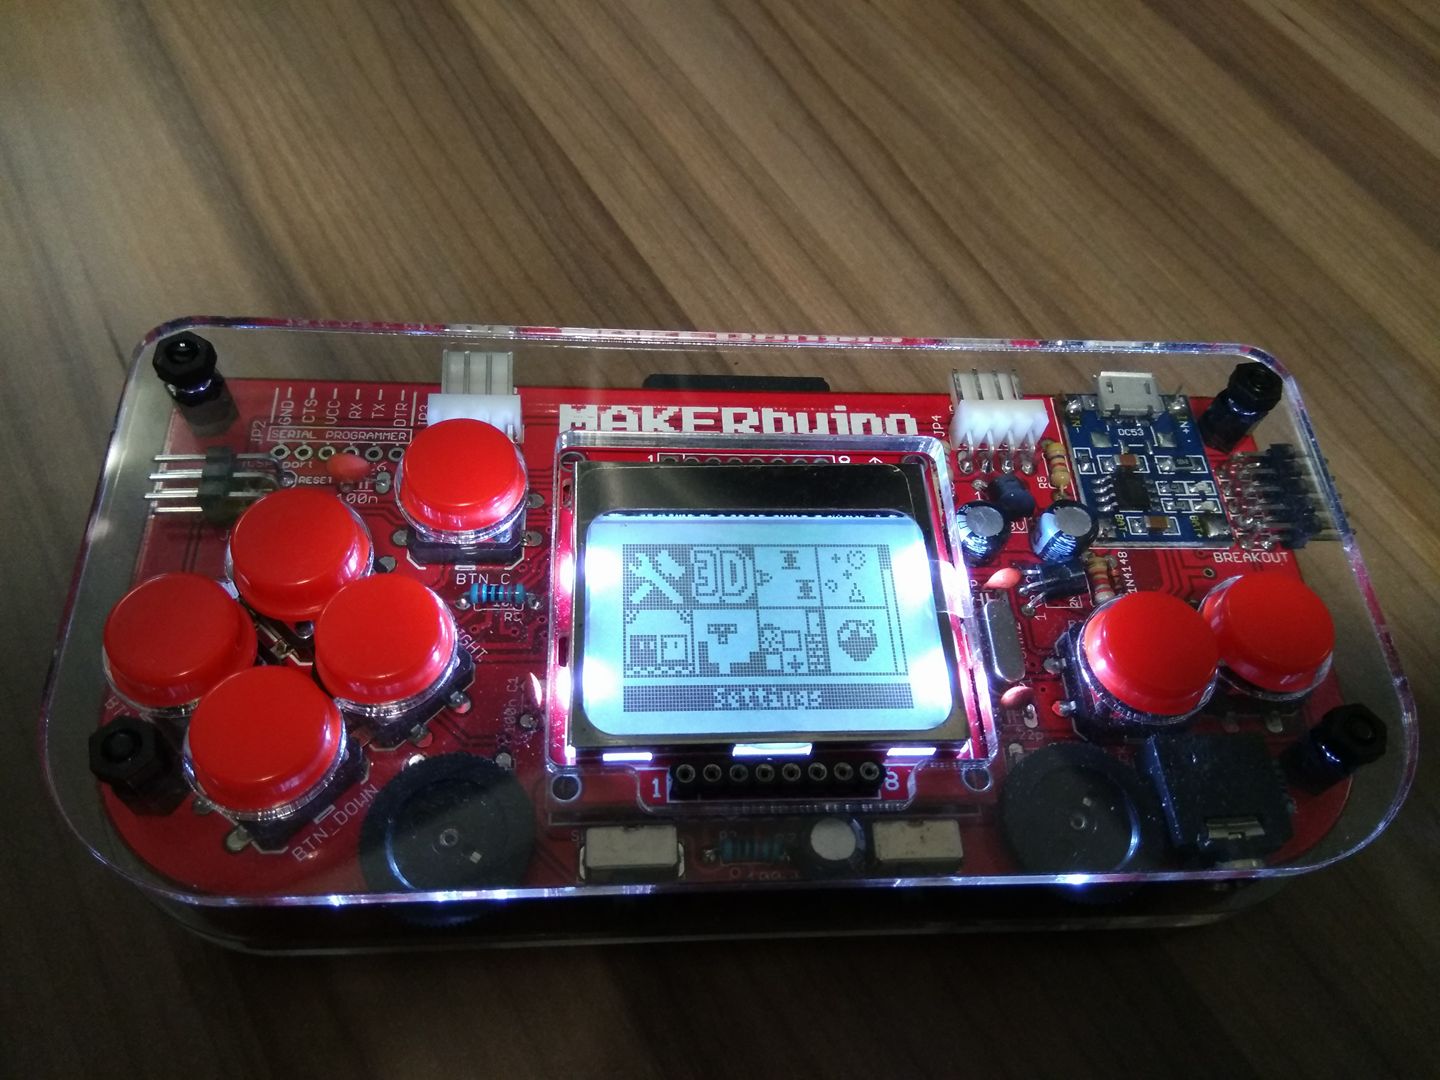
This is my first attempt at soldering, burned a hole in my table mat, other than that, it was a good learning experience.
Didn’t receive the pins to mount the serial programming board, so that part on the top left is missing.
1 Like


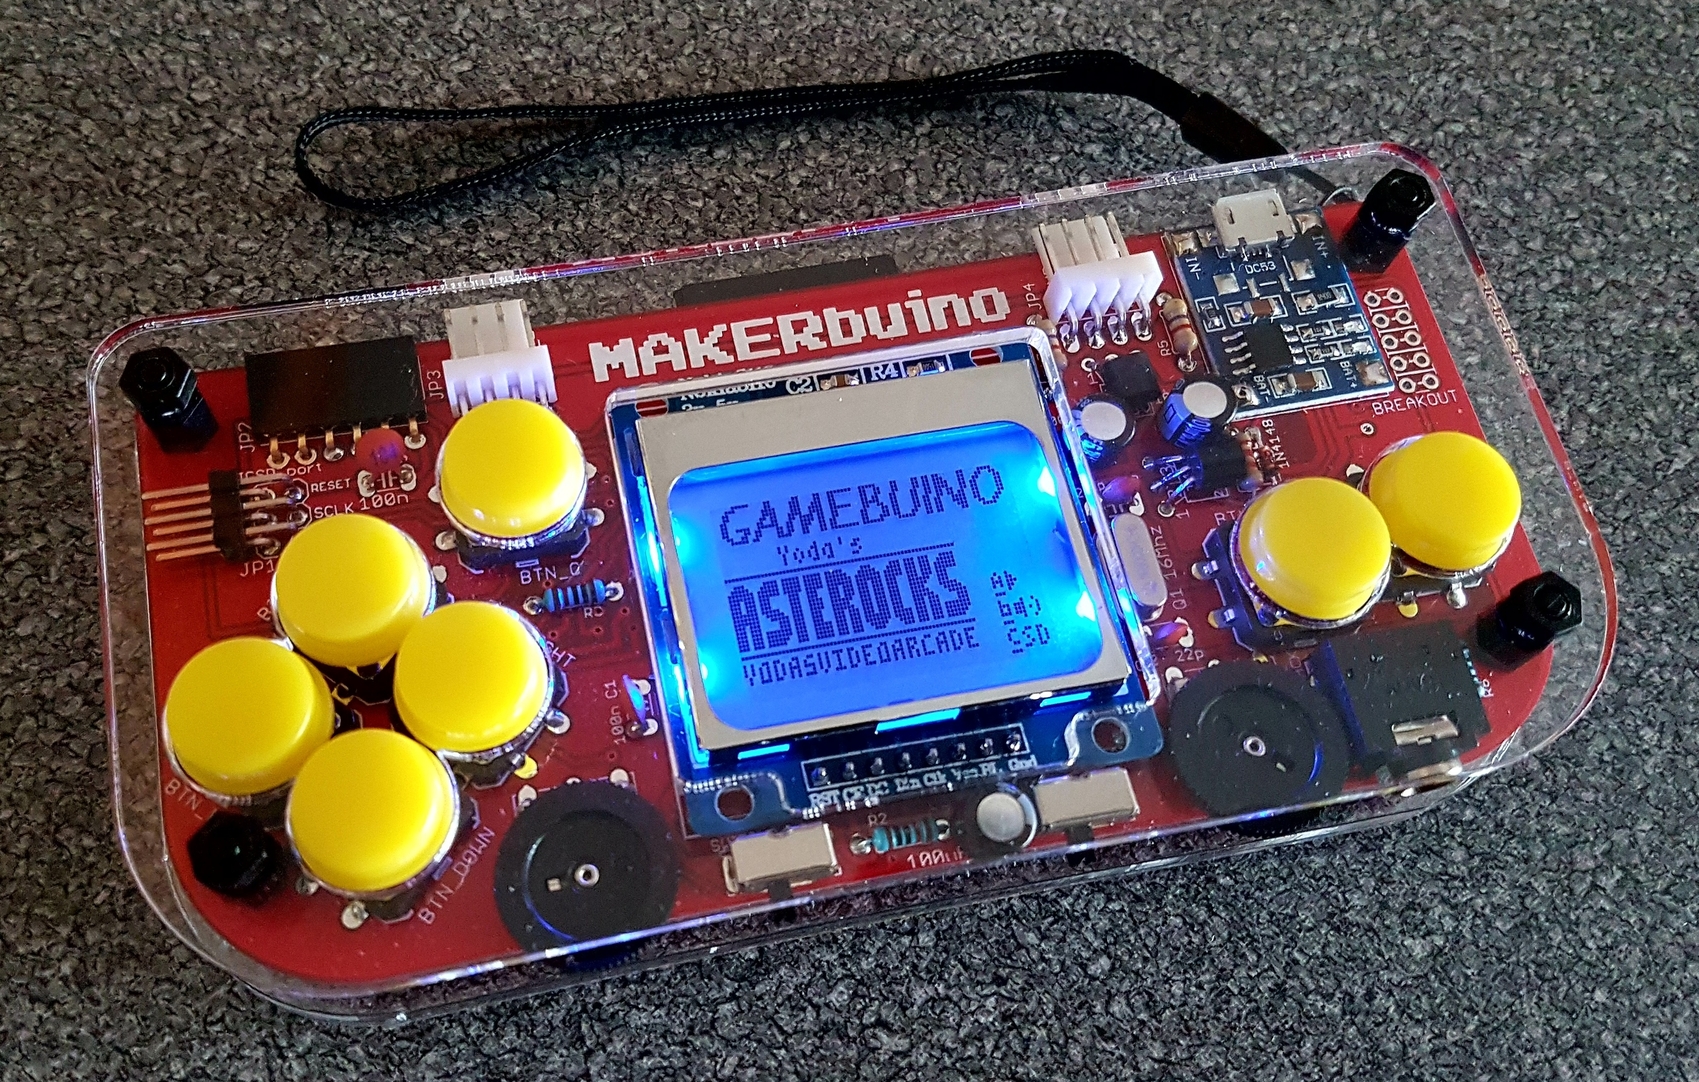
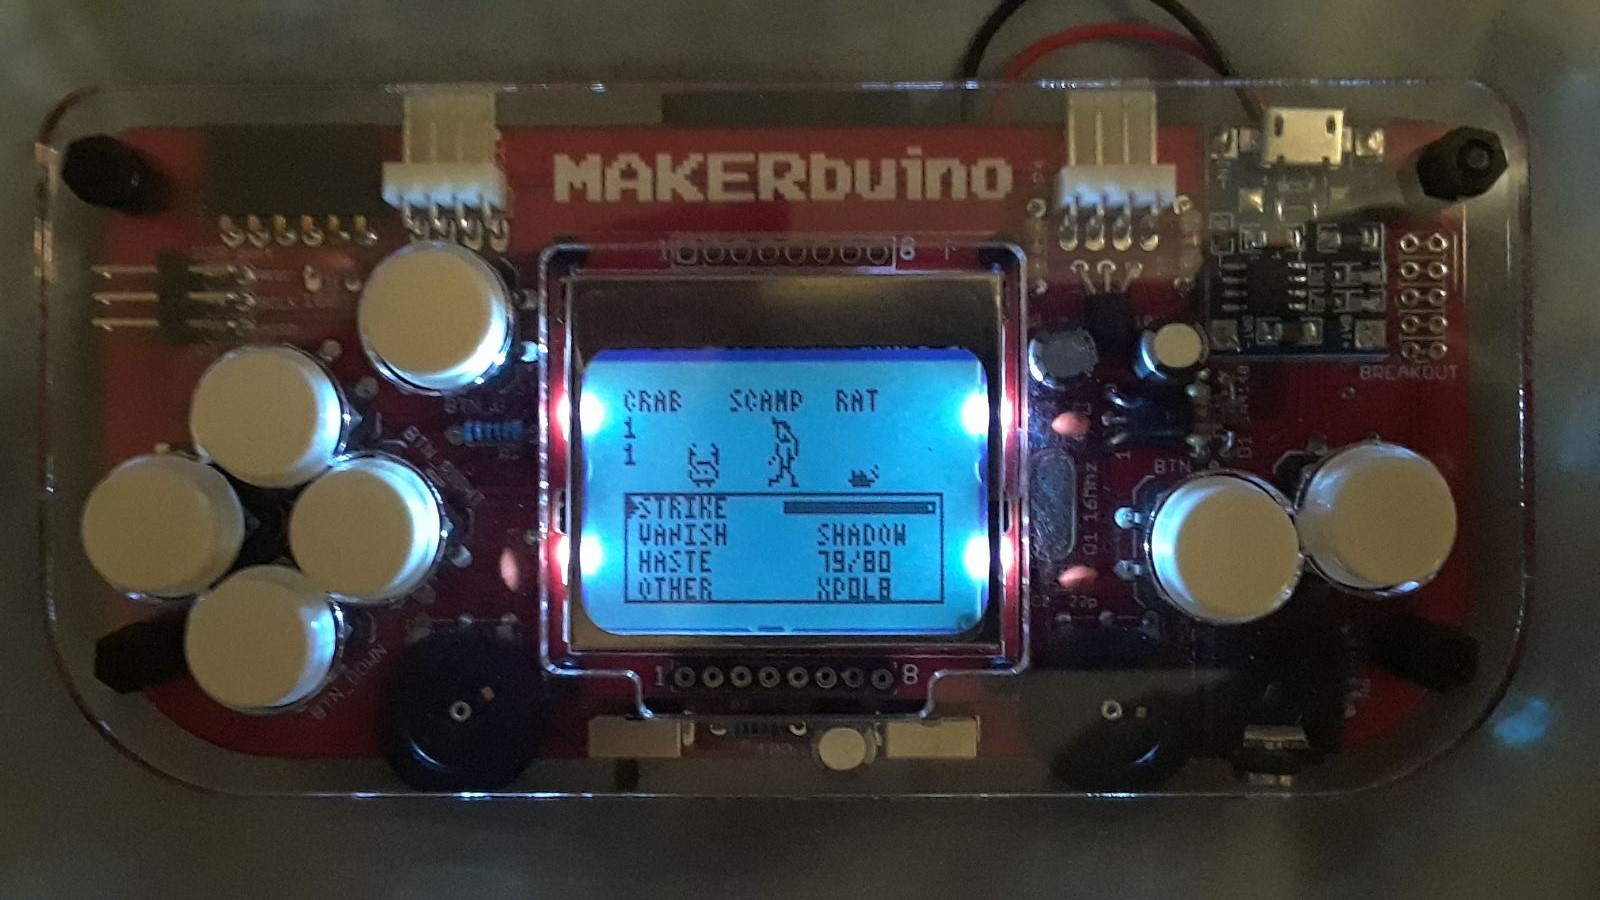
I love my MakerBuino, it’s a lovely thing. Here you can see I’ve swapped the LCD module for another one that I had for a different project. The contrast seems to be more stable, although I’m not keen on the blue backlight. Note also that I modded the board so that it gets its supply from the voltage regulator rather than the battery in case that was affecting contrast stability.
1 Like
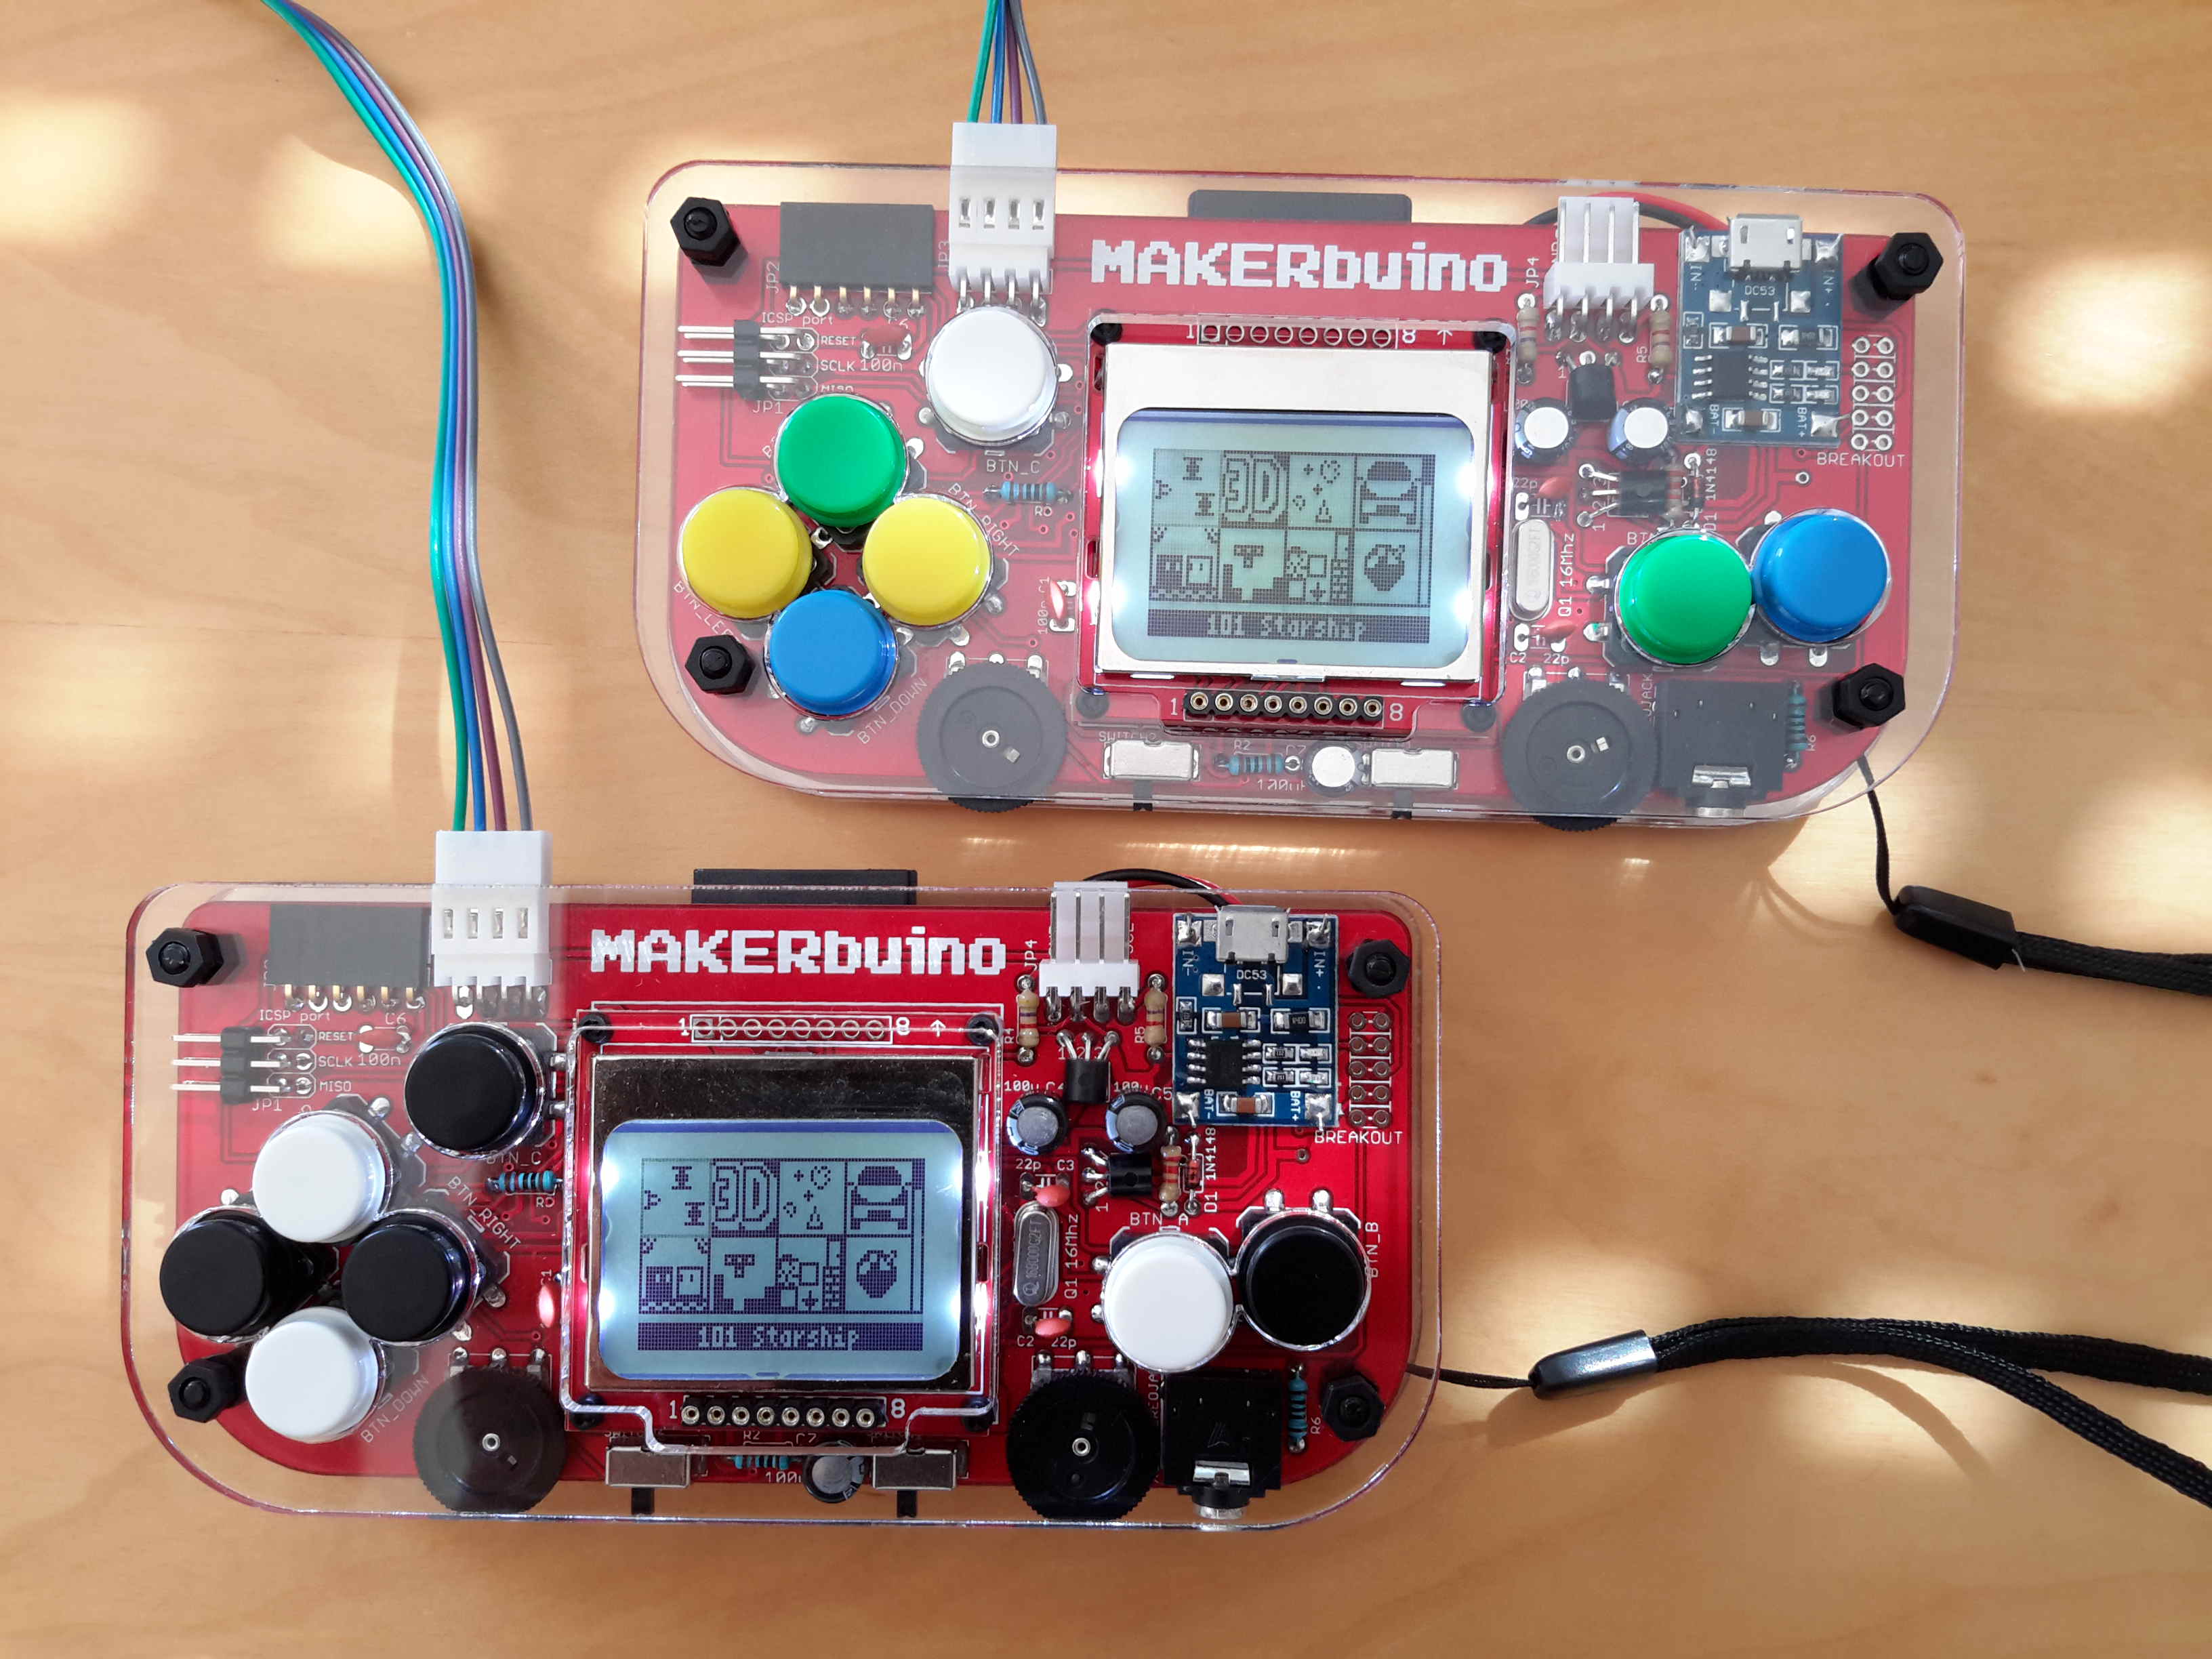
Ok, here are the two makerbuinos I built with my girlfriend. It was the first time soldering for her and she even asked what to built/solder next
Thanks for your efforts and making this possible!
2 Likes
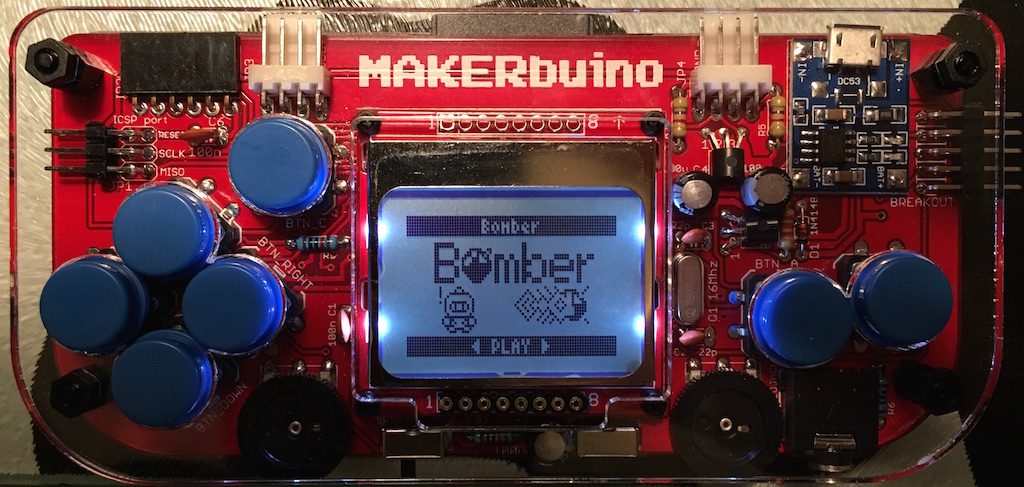
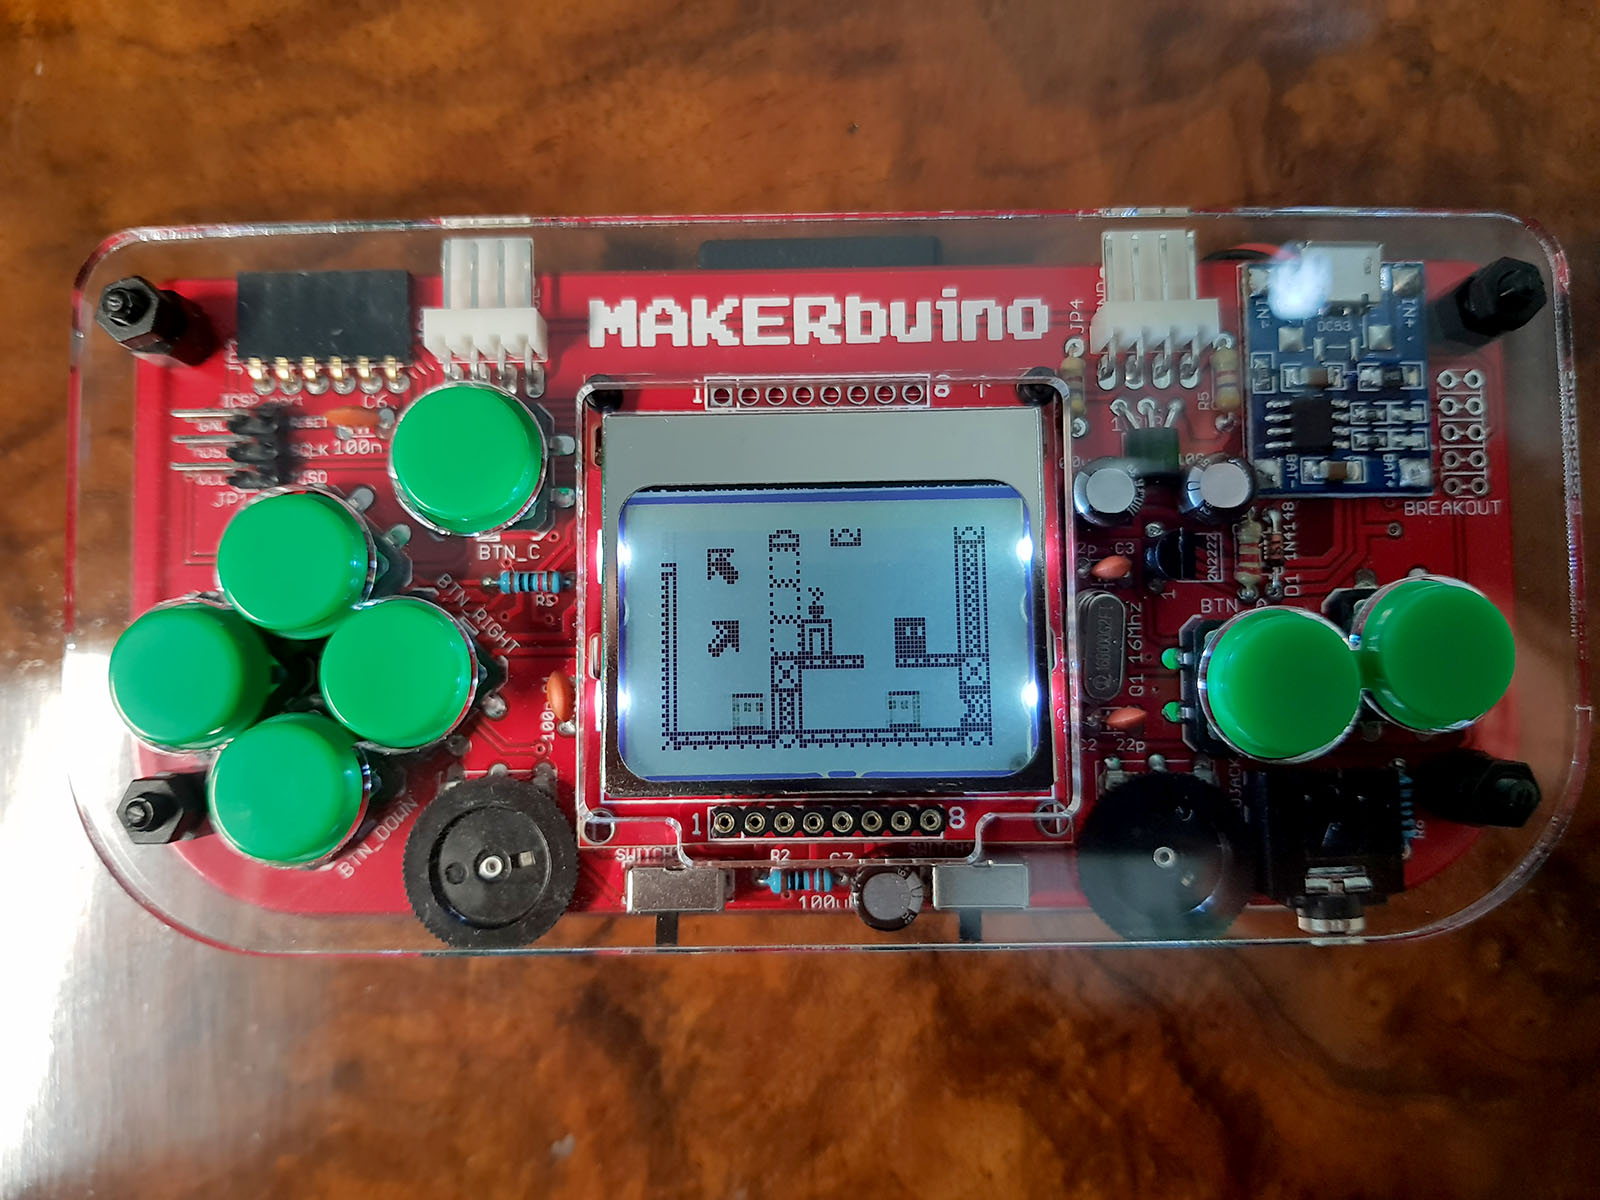
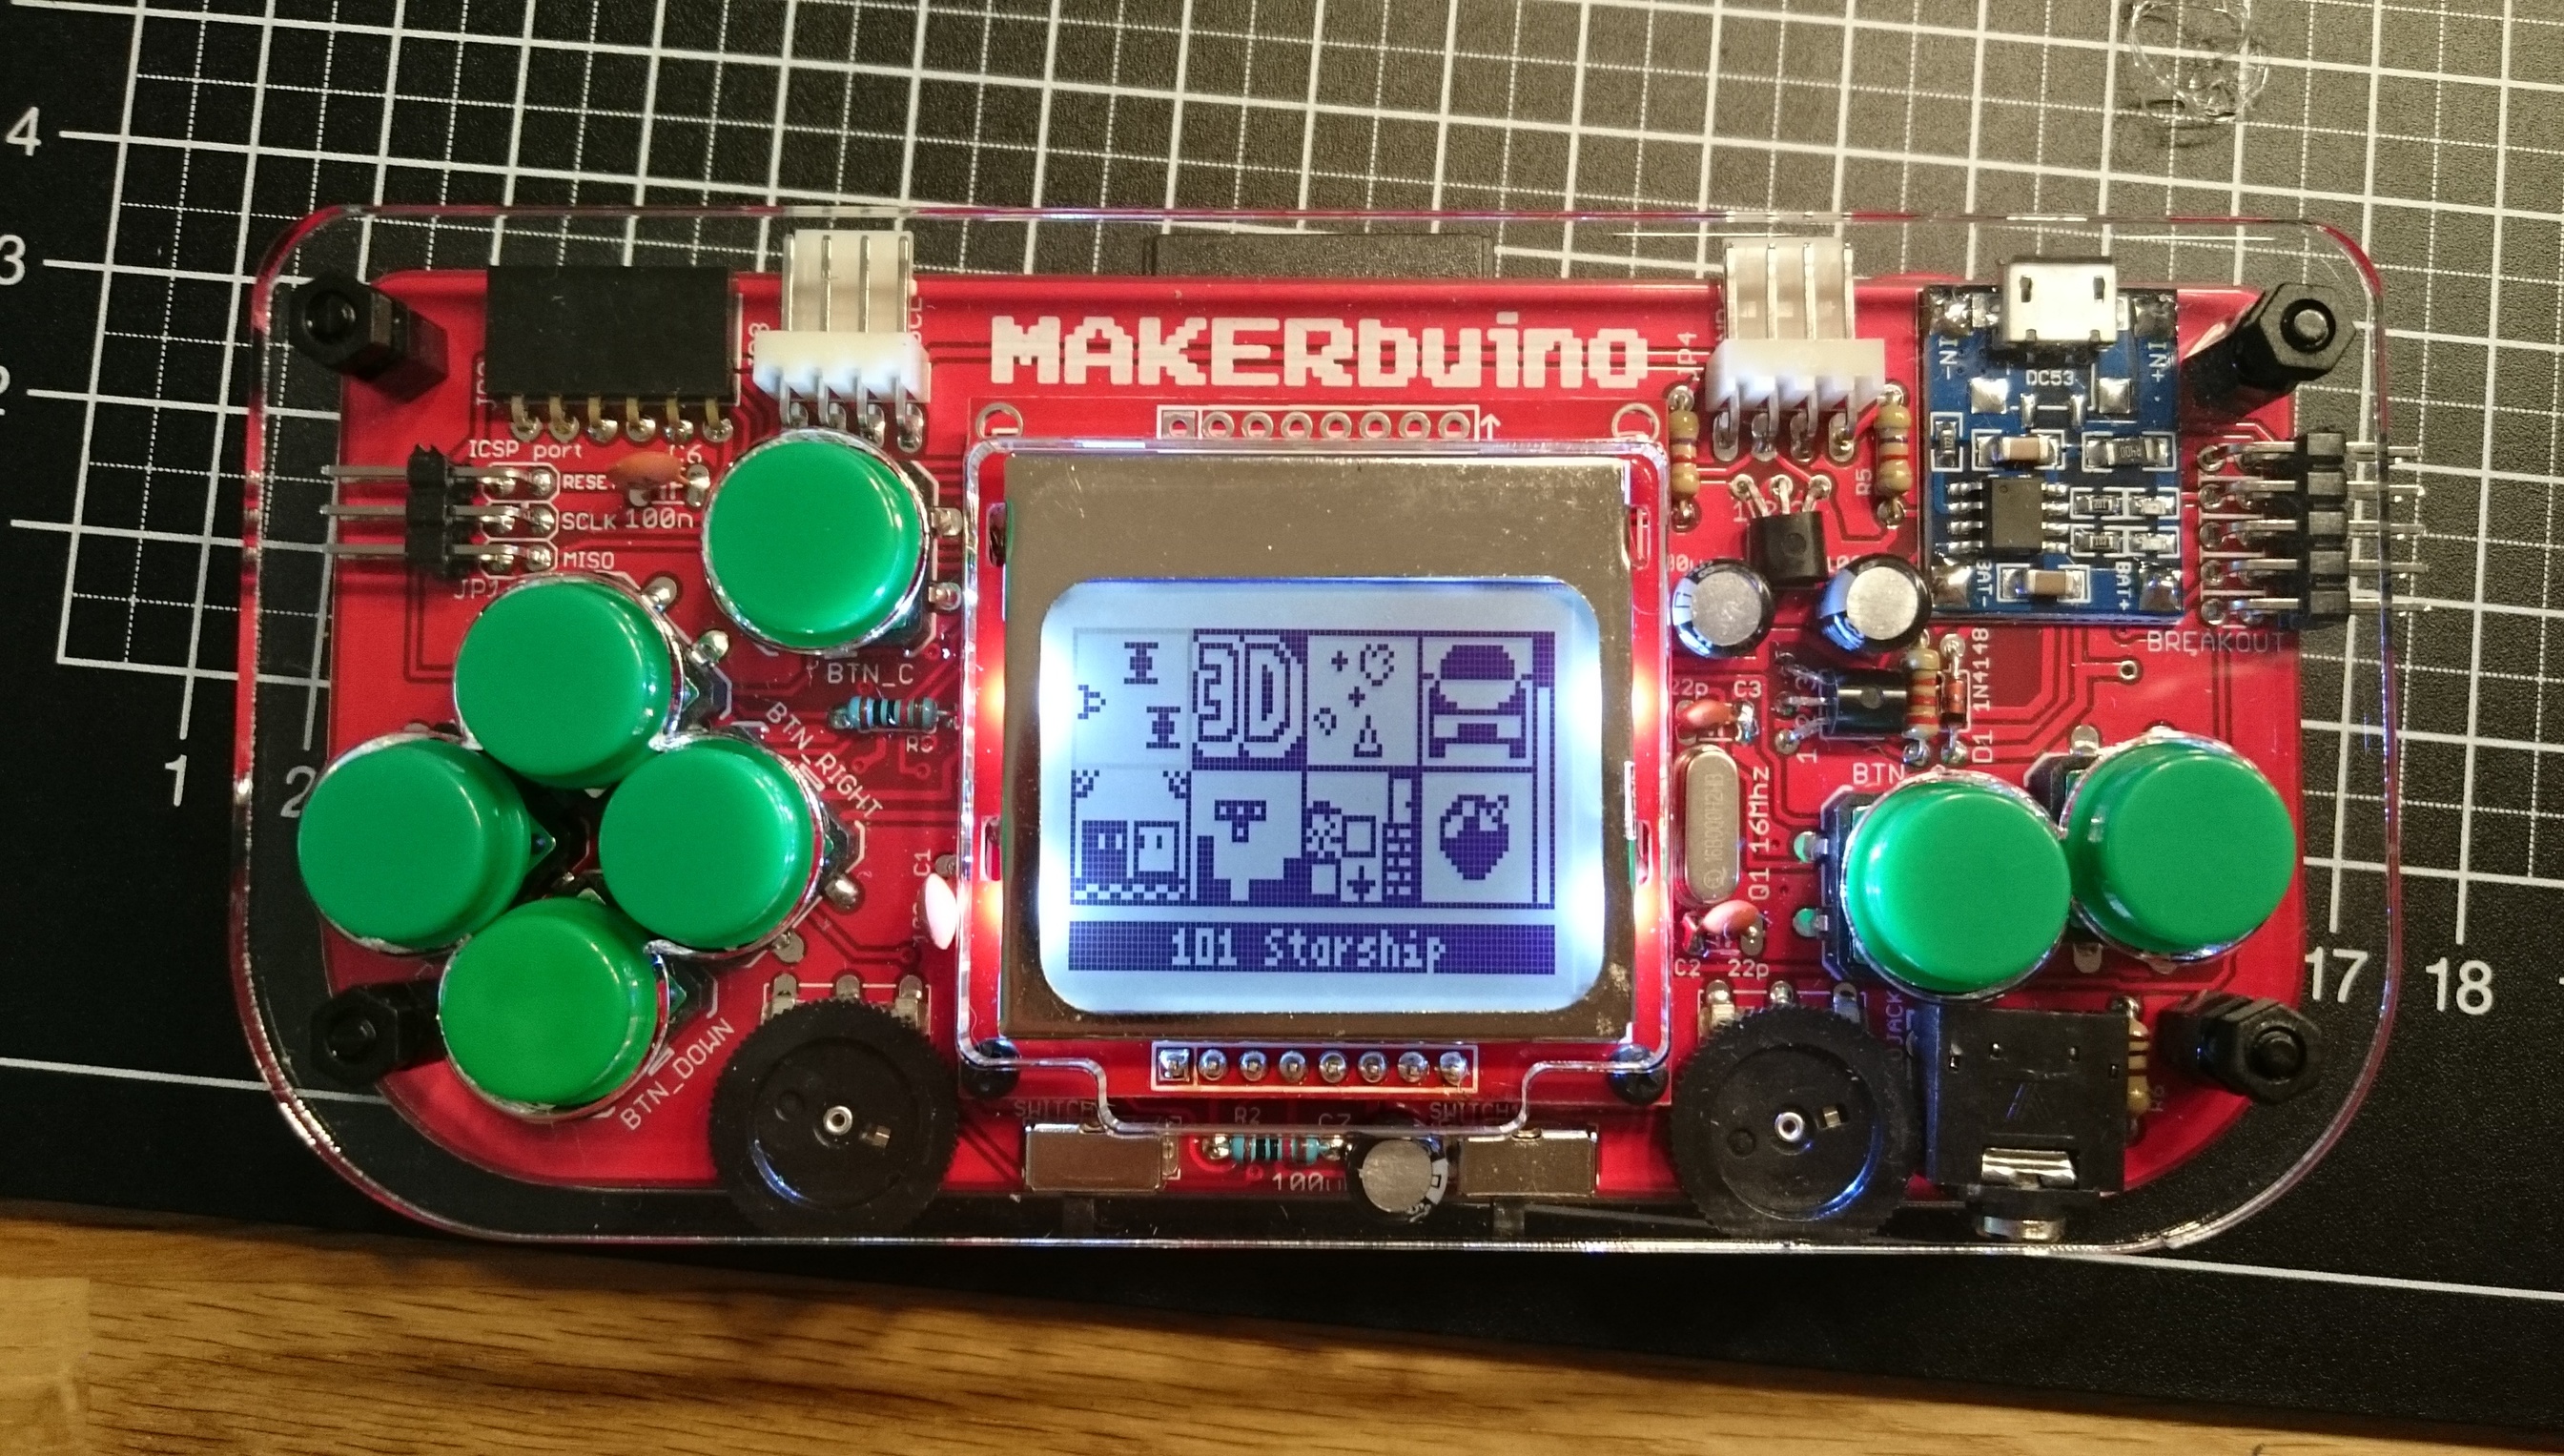
Here’s my little beauty
Quite satisfied with the soldering and the buttons are even in my favourite color 
Here’s my Makerbuino and another DIY console on my Blog.
Thank you Albert for shipping the new LCD. It works perfectly now.
Here are photos from our workshop:
http://bswireless.hr/uspjesno-smo-odrzali-makerbuino-radionicu/
And demo video of finished Makerbuino:
https://youtu.be/IGYfE8IbMZA
I finally got around to putting together my Makerbuino after having the kit sit around for a month or more. The build guide was really well done. I didn’t have any problems with following it.
Here it is right after completion:

Playing the wip RPG I’m working on:
1 Like
I originally finished my MAKERbuino back in August and decided to wait before posting it until I was able to visit my friend who lives a few hours away and help him put his together as well, this week I was finally able to make that trip down and both of them are now complete with minimal problems(the second unit was missing a 2n2222 transistor but I just popped over to the electronics store in the neighbouring suburb and picked one up for $0.40).

My nephew and I just finished building our units, we had some fun. Questions though is what do you do if the screen is dodgey (1 had a terrible picture) and how do you charge them? Other than that pretty happy with the product and process .