MAKERbuino Not Working

I followed @kmatchā€™s instructions for burning bootloader to MCU and confirmed by hooking up mcu to lcd via arduino (as described by @Gemberkoekje). I saw Gamebuino screen followed by screen saying to insert SD and restart.

Reinserted MCU into MAKERbuino and had audio for a while (the makerbuino chime) but lost it. I lost audio after pressing a few buttons (A then B then C) in fustration after still no display (aside from the 4 LEDs that can be controlled by the left potentiometer). No sound via headphone or speaker (and connections still look fine).

LiPo battery and charging circuit working.

Any ideas?

Thank you @Lysa_Bacon
@albertgajsak, can you pleaaaaase solve the issues Iā€™m facing?
My makerbuino has been starring at me for the past two monthsā€¦ just sitting thereā€¦

Not that Iā€™ve tried it, but I believe using the FTDI is good for putting sketches onto a chip but you have to do a few extra things to burn the bootloader. https://learn.adafruit.com/ftdi-friend/programming-the-arduino-bootloader.

There are easier ways: https://learn.sparkfun.com/tutorials/installing-an-arduino-bootloader

2 Likes

@rtaylor13256, I am sorry for the missing breadboard and for my late reply. Did you get a response from contact@makerbuino.comā€™? Weā€™re doing our best to answer to all of your emails. Can you please give us some pictures of your MAKERbuino, that would really help us determine whatā€™s wrong with your MAKERbuino.

@jj08.cheok, did you resolve this? What is the status of your problem? Some photos would be much obliged.

@Lysa_Bacon, congratulations on figuring that out. Yes, this problem is a bummer and is a result of us not controlling the chips after flashing them because we were late with everything. Please PM me your Kickstarter username and I will send you a new MCU and a set of color button caps (worth 4ā‚¬ in the webshop).

@sak41, sorry for my late reply.
To summarize, your MAKERbuinoā€™s MCU is fine and we know that because itā€™s synthesizing sound. The problem is the communication with the LCD screen. The only advice I can give you is to resolder the connections on the screen connector and the contacts on the MCU.
If that doesnā€™t help, I can either send you a replacement screen or a replacement PCB with the electronic components needed for assembling the device.

Whilst in the MAKERbuino, I believe the MCU is talking to the display but the display isnā€™t displayingā€¦and hereā€™s why:

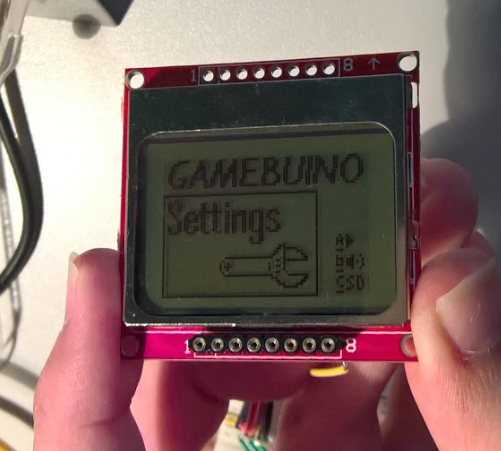
Originally when testing MCU with LCD and arduino, I saw these two screens (they cycled together):


But this is what @Gemberkoekje saw:
23 copy

I then removed the MCU from the arduino and put it into the MAKERbuino. I got a start up chime and no display (aside from the controllable backlight). I inserted the SD card randomly. I restarted and got the startup chime and no display. Pressed button A then B and C out of fustration. Turned power off and on again. Still no display. But, hey, now no startup chime.

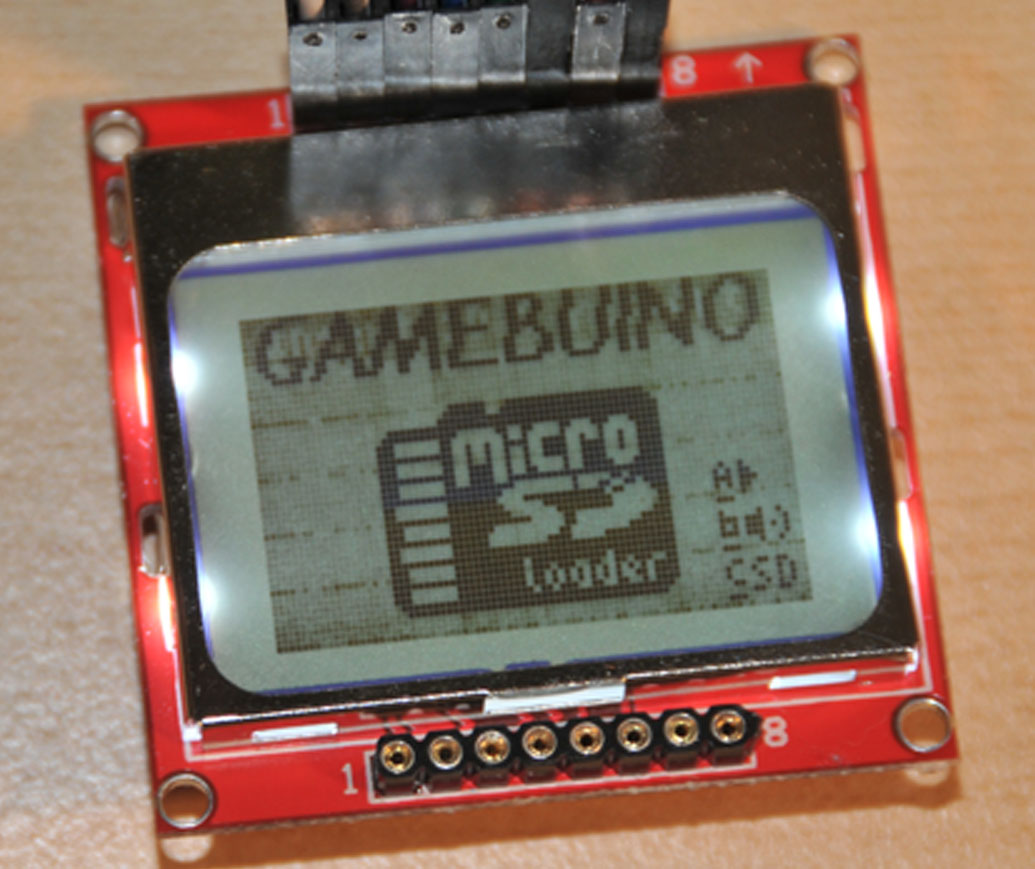
I put the MCU back into the arduino to see what the LCD was doing and now I see this:

So put the MCU back into the MAKERbuino. Still no sound or display. Pressed some buttons randomly.

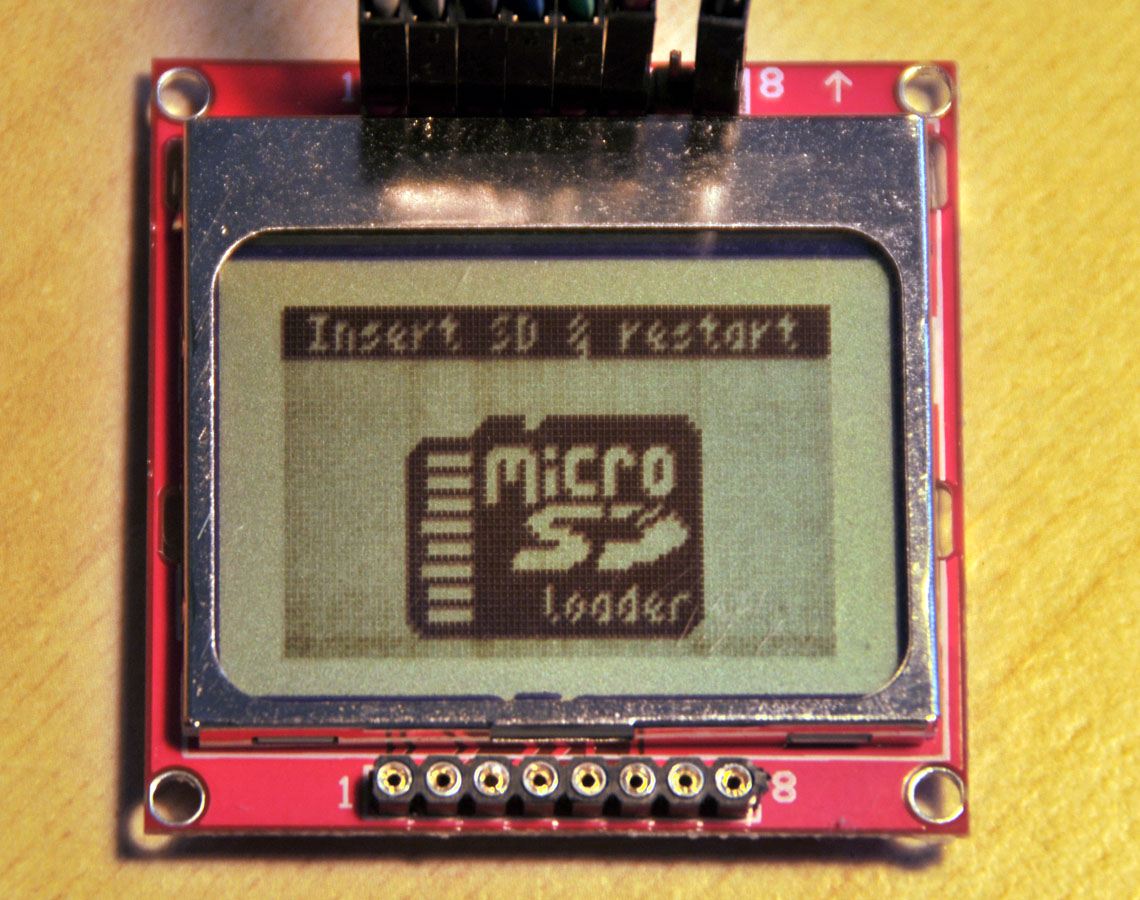
Put the MCU back into the arudino and now I see:

Put back into the MAKERbuinoā€¦still no sound or display. And then I realised, no sound because all I was going to get was a startup chime and the chip already thinks Iā€™m past that point each time I power on. Itā€™s remembering where I left off each time.

I decided to try to reflash the MCU in the hopes of starting things off fresh. Doesnā€™t do it. Is the bootloader set to not allow a reset perhaps?

BTW, each time I placed the MCU into the arduino I ended up pushing the reset button on the board and perhaps that advanced the setup process? Or maybe that was just due to my random button pushing each time the MCU was reinserted into the MAKERbuino.
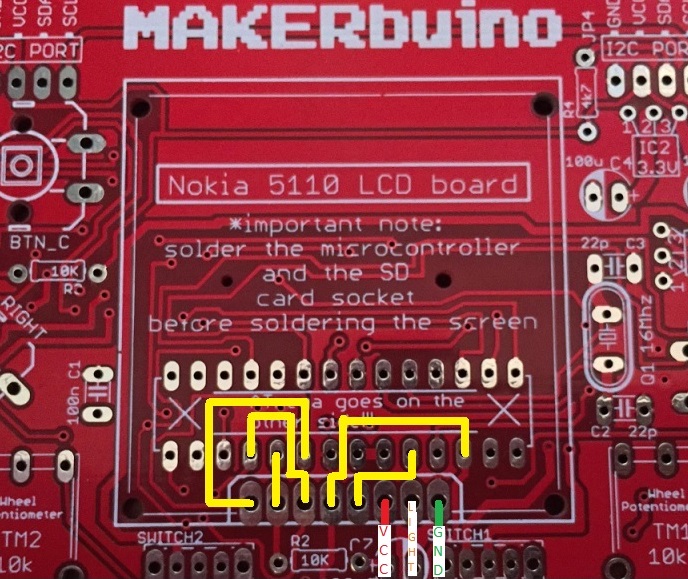
I have no clue why the display wonā€™t show on the MAKERbuino aside from potential soldering problems or a faulty screen, but it clearly works via the arduino/lcd/breadboard/MCU environment. Iā€™ve checked the solder joints a bunch of times. No bridging. Looks like good contact.

Out of interest, when I was testing the display via arduino with itā€™s usual chip (not with the Gamebuino bootloader on it), I noticed that I could only get text and animations to display if it was given 5V from the arduino board as opposed to 3.3 V. Does this suggest a fault with my LCD?

Regardless of the MCU status, I can not get the display to work with the MAKERbuino. Any suggestions?

@albertgajsak Iā€™m happy to try a new MCU. Iā€™m happy to try a new LCD. Iā€™m happy to start all over again with a new kit. Or if you have any other thoughts on where to go from here?

Iā€™ve read a post where another user sorted out their screen issues by resoldering pins (had excess solder) to allow for a better connection.

This didnā€™t help me. Iā€™ve even removed the headers and replaced with simple pins and still nothing. Iā€™ve resoldered pins and get signal through arduino but still no signal when reconnected to MAKERbuino board.

Iā€™ve run out of ideas. :thinking:

@Lysa_Bacon So if you put the MCU and screen from the Makerbuino onto the Arduino board, then everything works fine apart from the contrast? this kind of say to me that the issue is with the Makerbuino PCB or a connection between the MCU and screen. As for the display contrast, this needs to be set by pressing btn left or btn right?.

If its any help then these are the connections from the MCU to the Screen, if you have a Multimeter you can check the circuits with the microcontroller, screen and power supply removed.

1 Like

Hi @bitfogav. Thank you for your post. I have continuity between MCU and screen for all the points in yellow on your pic.

I tried to blindly set contrast using the left and right arrows but no change. Also, tried to alter and then pressed A to see if changes at least accepted. Hooked display up to Arduino where it showed no change. Contrast remains on 50. Checked buttons for continuity and they are fine.

On Arduino rig, I see the MCU has gone back to the Gamebuino settings page. Is there a way to navigate to that (remember, Iā€™m doing everything blind when going back to maker buino as nothing displays) or does that mean Iā€™ve somehow reset the MCU?

@Lysa_Bacon, what is the progress of this?

Sweet jebus, this is a tough one, almost a unique case.
Soā€¦ to sum everything up:

  • the screen is working because youā€™ve tested it on the Arduino rig
  • the microcontroller is working and is bootloaded and has a program running since itā€™s producing a stratup sound (or was producing the startup sound)
  • the connection with the screen is correct and there is continuity
  • everything is getting power and has correct voltage levels

I am quite confused and do not know what to do here.
Did you try putting in the screen, inserting the SD card and trying hard reset (hold C, turn off, turn on, release C, wait for 30s)

2 Likes

Yes, I tried the hard reset.

Iā€™ve ordered a new screen and will give that a go when it arrives. On the Arduino rig, the LCD didnā€™t want to function at 3.3V but did at 5V. It doesnā€™t get that much on the MAKERbuino so maybe thatā€™s where the problem for me is. Fingers crossed itā€™s just a dodgy screen and the new one will do the trick!

i am facing the same problem!

the first time after i build the makerbuino it worked just fine.
now, after a few weeks of not playing with him around he still worked fine, aber a break of, something like 5mins, i turned him on again and there it was: the screen and the sound doesnt work anymore.
all i see is the backlight. :fearful:

okā€¦the hardreset did it for me!

maybe you have the same issue.

but what i still wonder is, that the display just turned off bevore, without any changes from my side.

@albertgajsak, I got the makerbuino working!! I ordered in a new display and it did the trick!

Perhaps my case isnā€™t so unique. Others reporting that their display does not work (aside from the LEDs) have not commented on the forum whether or not they tested the display outside of the makerbuino unit. Mine worked outside the unit but as I noted in my lengthy comment above, it only worked when given 5V from the arduino. I got nothing on the 3.3V pin except LEDs lighting up. Anyhow, perhaps that was an indication that the display unit was failing. The unflashed MCU just added to the confusion.

Anyhoo, I believe you were going to send me a flashed MCU and some free buttons. I never received the tracking number so hopefully you havenā€™t sent that out. However, as you can see from the photo, Iā€™ve melted the buttons a bit while hastily trying to re-solder things while looking for the fault. I would greatly appreciate those free buttons!

@Lysa_Bacon, your MAKERbuino looks super-duper, well done :grinning:!

Yeah, weā€™ve shipped the microcontroller and the button caps this Monday. Unfortunately, I didnā€™t have enough time to update you with a tracking number. Iā€™ll update you now with the number (and award you with a couple of badges for a successful build too!)

@diggi.dong, congratulations on fixing your problem!

@jj08.cheok, @rtaylor13256, @sak41, what is the status of your build? Any progress?

Hello againā€¦
After taking a long break from MakerBuino cause it was upsetting me, I decided to try to fix it today ā€¦
stillā€¦ nothing has changed! Itā€™s not turning on, nothing is happening, seriously nothingā€¦
thatā€™s very upsettingā€¦
@albertgajsak what do you propose as a solution?
Thank you

I personally was able to narrow down the issue on my board. It was a faulty atmega328p chip and a faulty 16mhz crystal. After reprogramming a new atmega328p chip with a new crystal and then soldering the EXACT SAME crystal used for programming the chip to the board, and placing the atmega328p it started to work. Also the battery seemed slitely off (screen would glitch if not enough power). But i got it to work again!

Did you manage to find the reason for your problem?

Iā€™m in a similar situation, I got no image on the screen but I can definitely hear a ā€œbleepā€ sound when I press the left side button (I mean the ā€œAā€ button, not the left arrow) of the console right after turning it on ā€¦then playing around with the buttons I can hear some more booping noises.

Note that the buttons only start beeping after I press that one button at least once, after starting it up. Which might explain why you sometimes did not hear noises anymore, if your case is the same as mine.

Oh! I actually got it working!

In my case the display was fineā€¦ actually what I suspect happened was that when in the initial test when the display didnā€™t light up the reason there was the battery being fully discharged.

But I didnā€™t know at the time and tried rechecking all the soldering and I even attempted to remove the display to check the soldering points to the microcontroller.

But now, after having assembled the rest, connecting via USB cable (which probably recharged the battery a bit) and noticing that the sound works, I redid the soldering to the display (which I had messed up a bit when I was trying to remove it) and now it works!!! :smiley: