After step 12, I had the “adjust contrast” screen. I then continued soldering all the remaining components. At step23, at the final test, I only get the backlight of the display. Also, when turning on the Makerbuino, I get a chime sound on the headphones or the speaker. Hard reset seems to work, after 30 seconds, I hear the startup chime again, but nothing on the display.
@albertgajsak, do you have any suggestion what to try?
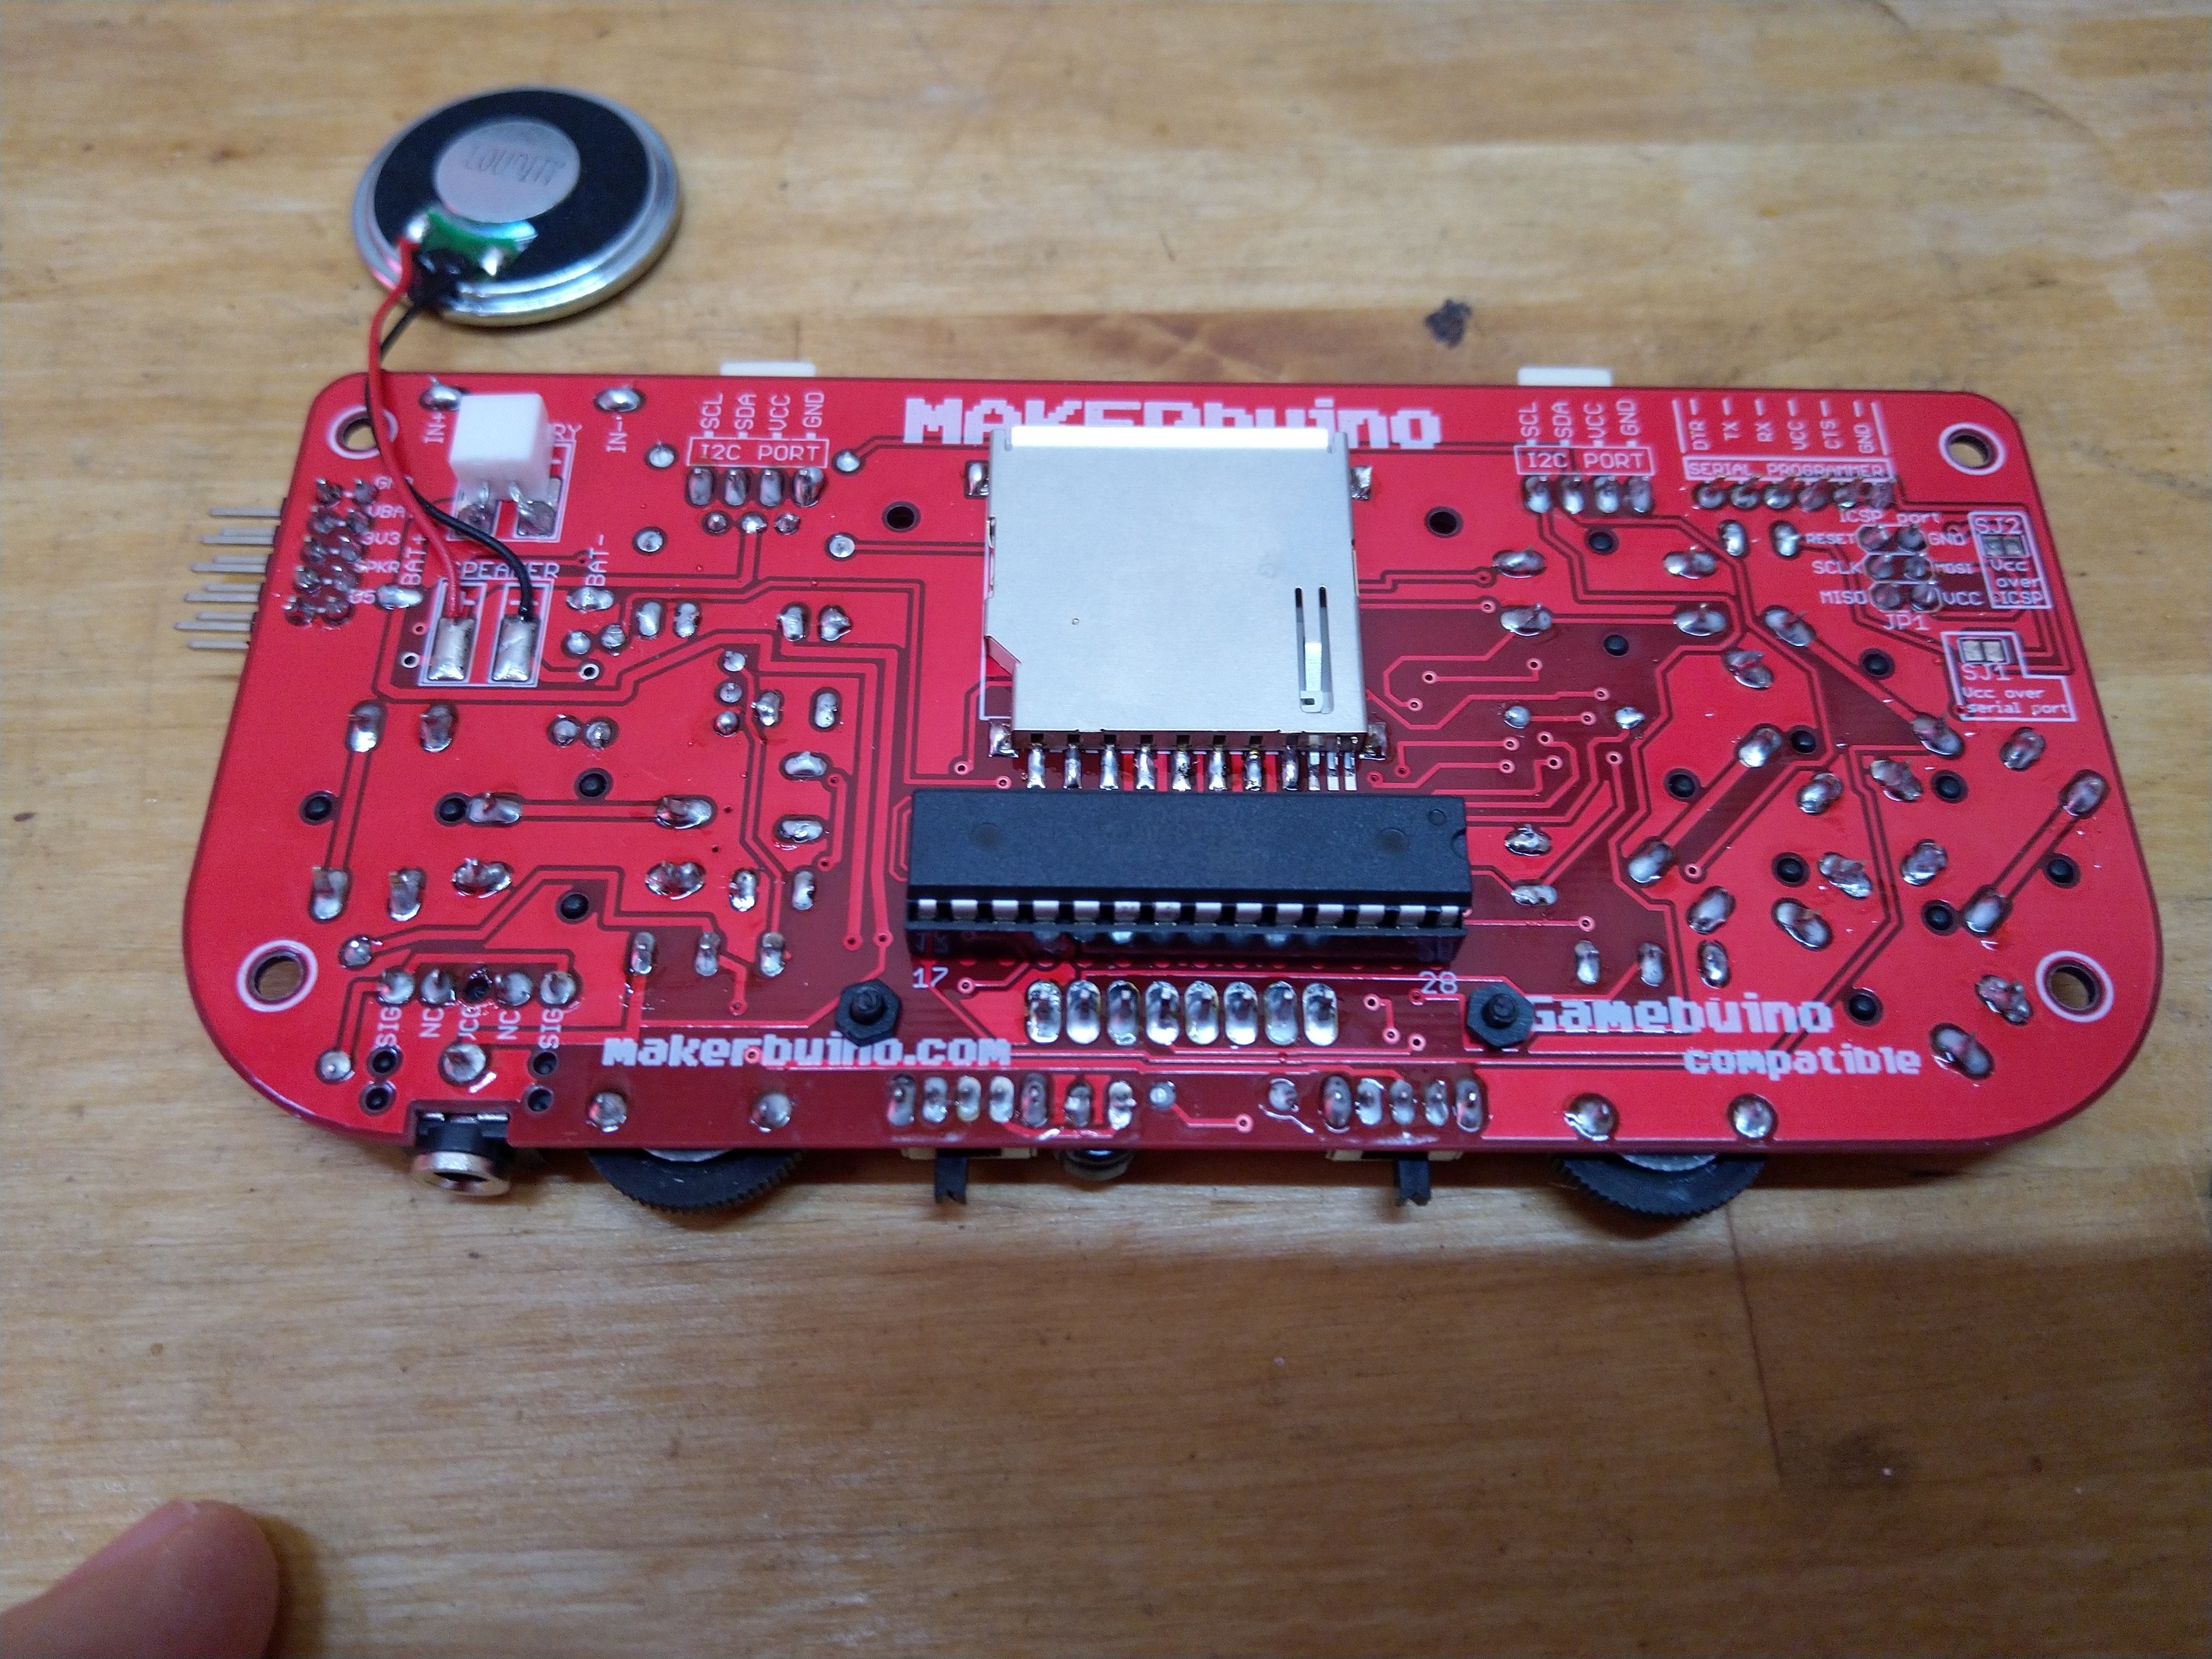
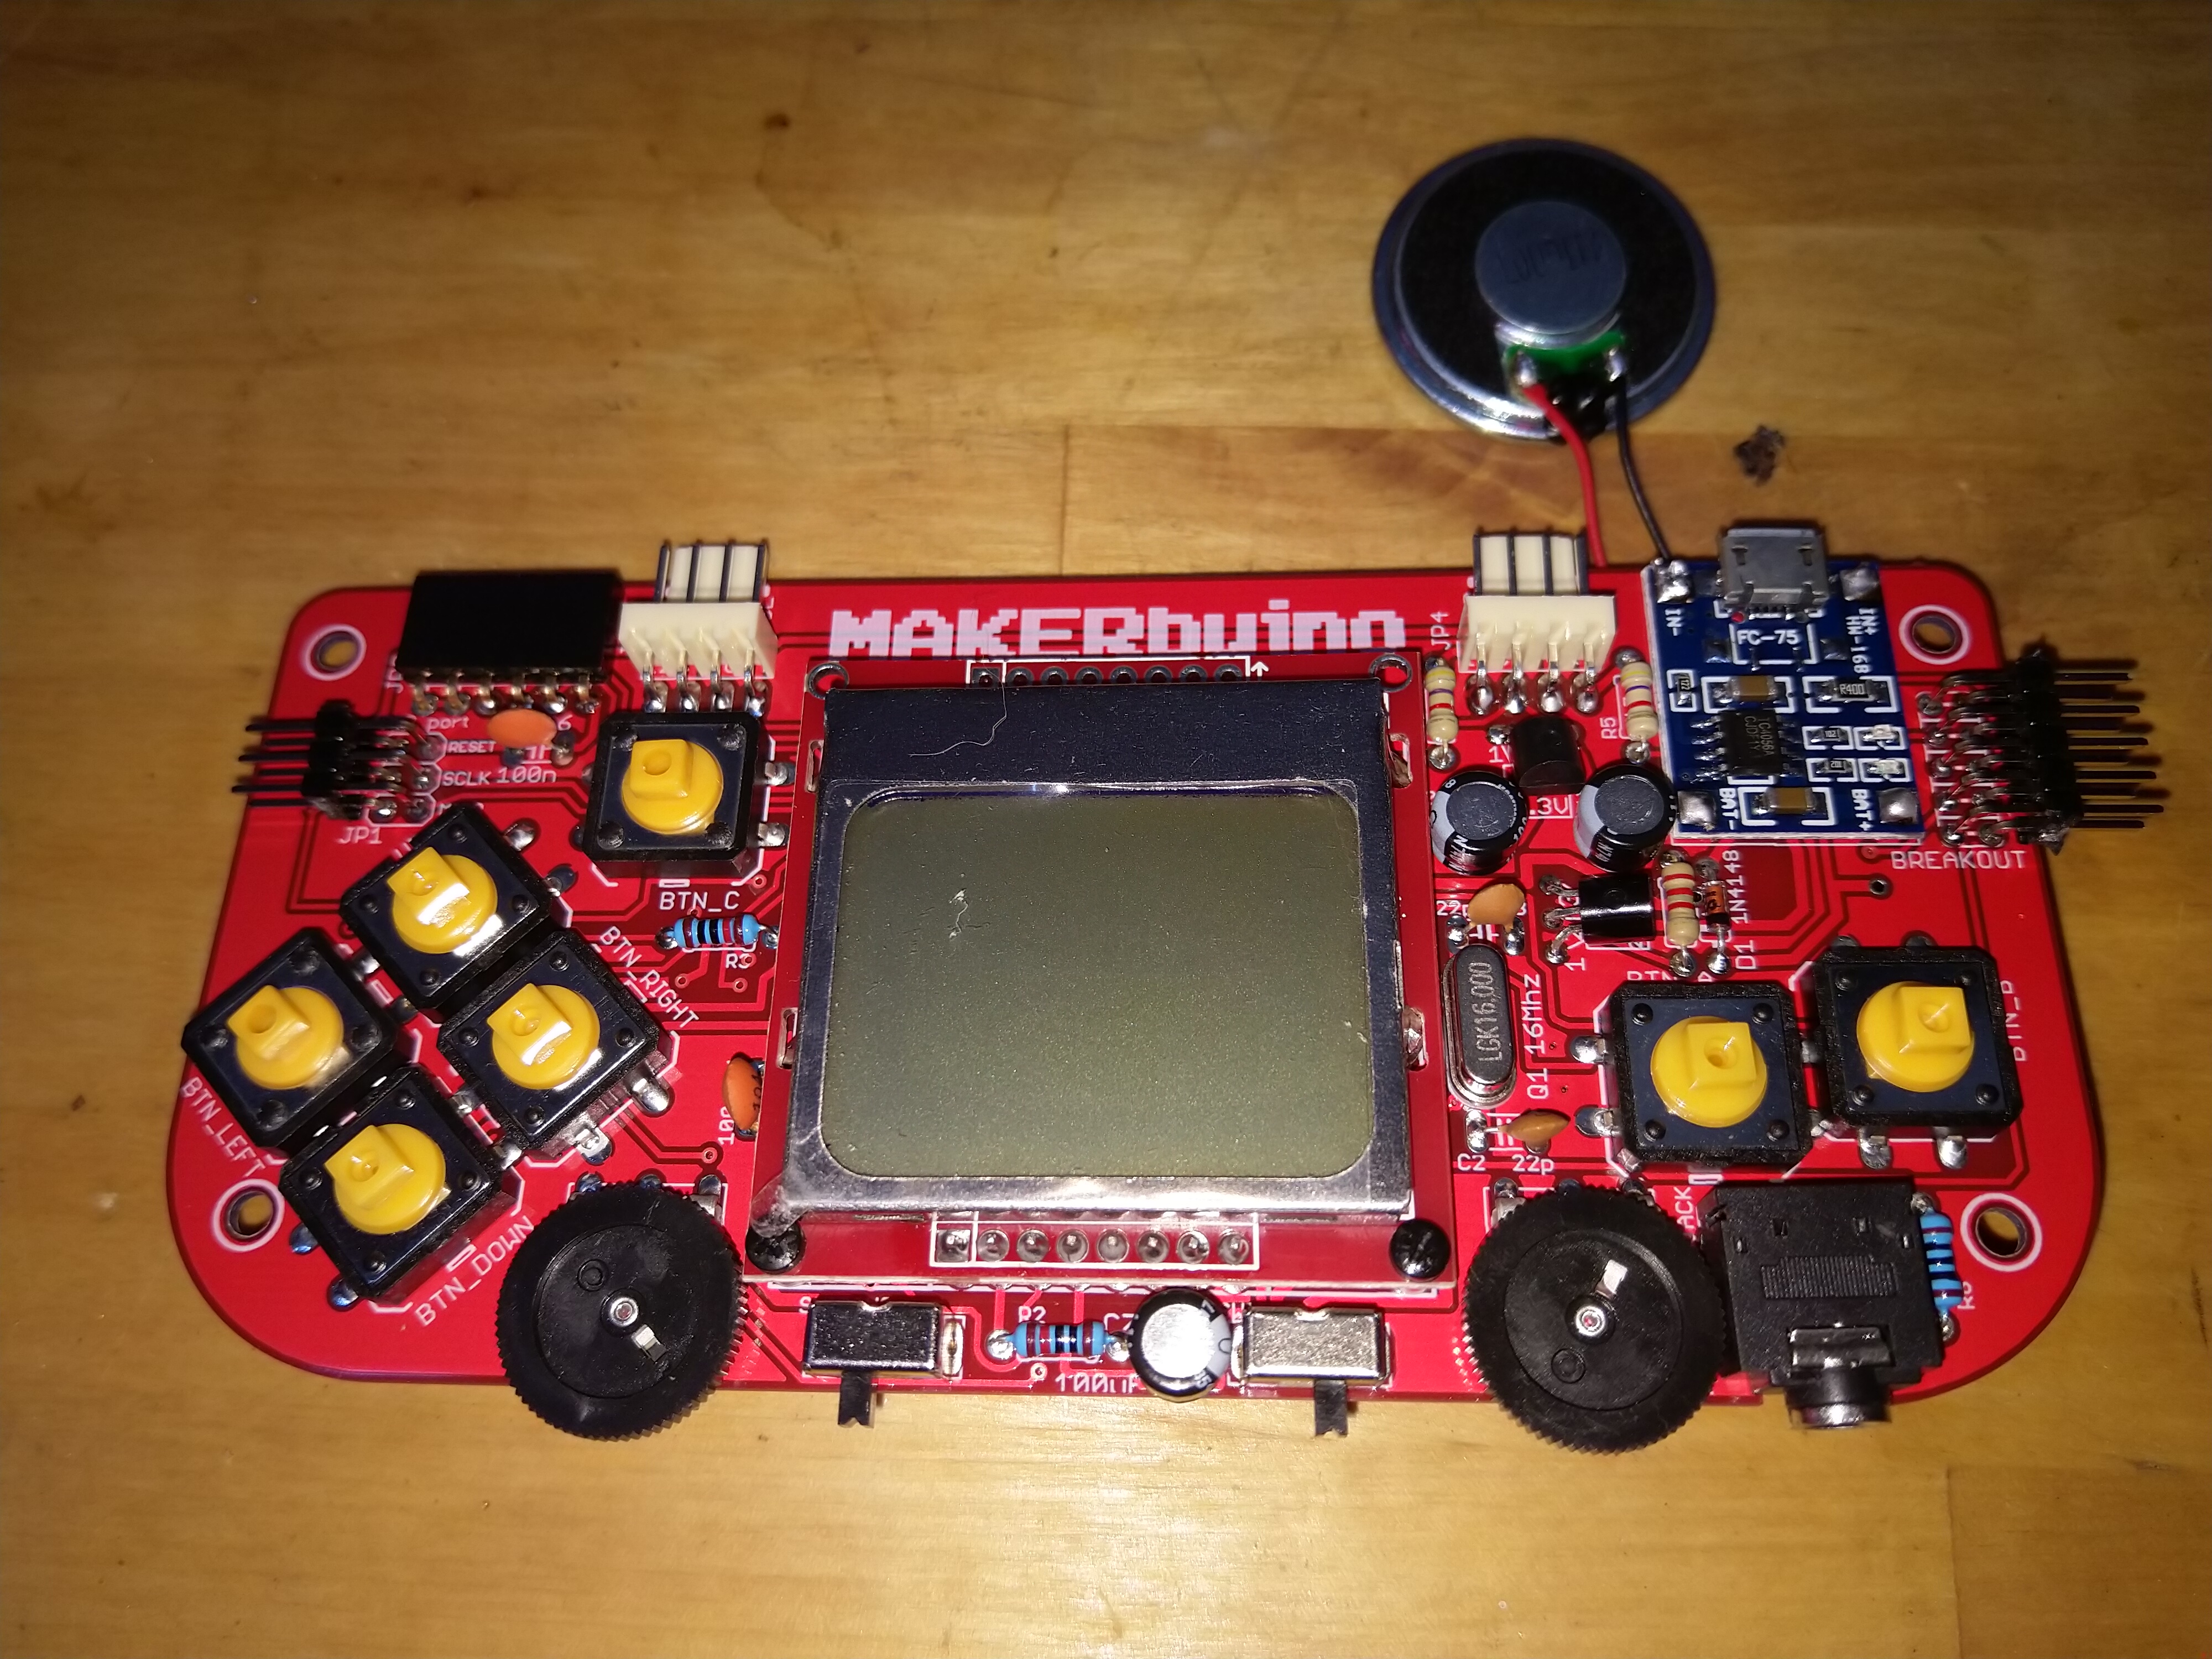
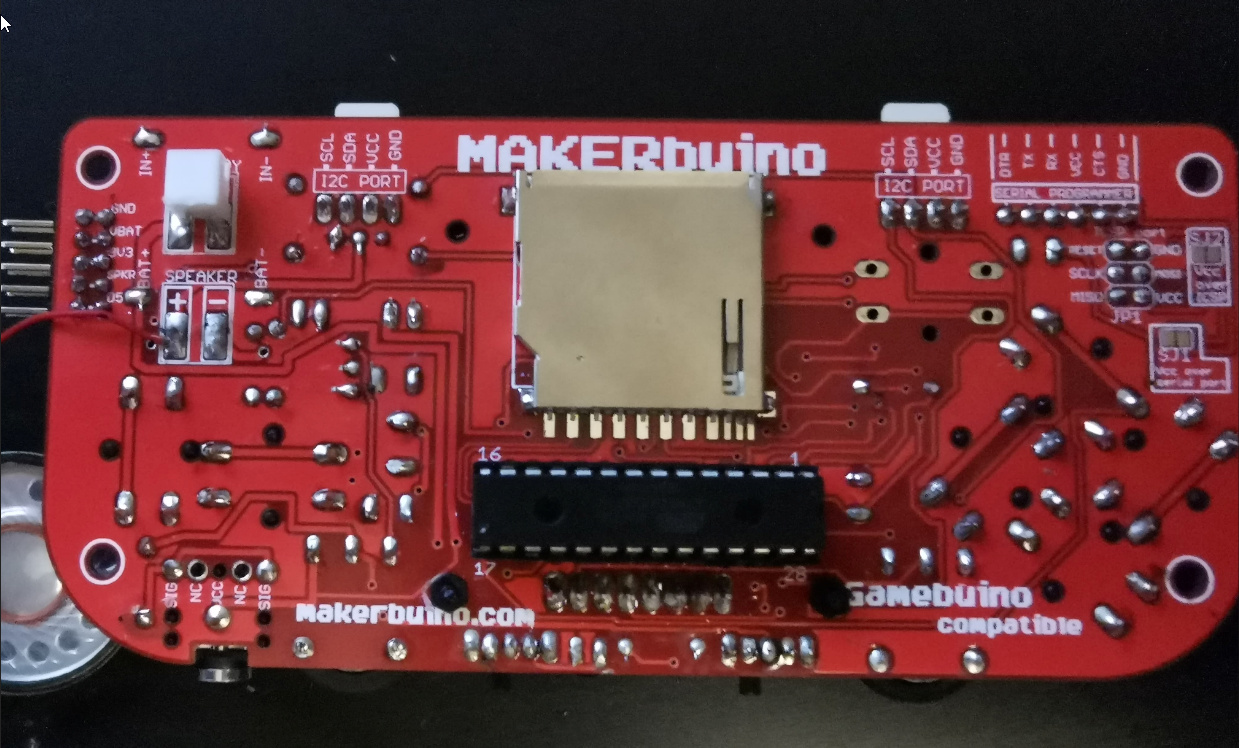
I attach a few photos of my makerbuino, there seems to be a dark border on the top of the display.
Looking forward to your suggestions!
Hey,
Thank you for your message.
Please, send us the console to our address:
CircuitMess,
Maksimilijana Vrhovca 11,
47000 Karlovac,
Croatia
We cannot help you remotely any further so I’ll personally fix your console and get it returned to you.
You only need to send us the circuit board in order to make the package as light as possible.
Thank you for your understanding.
Sincerely,
Albert
Hi Albert,
I would like to try desoldering the display and then try it on an arduino first. If I can’t get it to work this way, I’ll send both the PCB and the display to you. Would this be okay with you?
Best,
Tobias
Hey Tobias,
Yes, feel free to do so. Tell me if you need anything else
Hi Albert,
so far, I have desoldered the display, placed the Makerbuino ATMega in an Arduino Board and set up the connections to the display as described https://community.circuitmess.com/t/getting-the-atmega-and-the-lcd-screen-to-work-with-an-arduino-unohere
The display worked fine in this setup.
I re-heated the solder joints of the socket on the Makerbuino to make sure they are alright. I also used my multimeter to make certain there is connection from the socket to the solder pads for the display.
Then, I reinserted the ATMega into the Makerbuino Socket and soldered wires to the display pads. I connected these wires to the display via breadboard. It worked.
So I supposed the display would also work if soldered to the Makerbuino directly. But now, I have the same symptoms again, the backlight is the only thing working. Tonight, I will use my logic analyzer to see whether I can find which of the pins is not working correctly.
Could it be that some solder made a connection between two pins on the backside, where the display headers are?
Hey, this is really weird…
Without seeing the console, I cannot really say, but there shouldn’t be problems like this…
Please, send me your console and I’ll fix it personally
I wasn’t ready to give up yet. I reheated the display’s solder joints, then checked connectivity to the ATMega, and whether there are shorts between the display’s pins. No problem there. But the display still didn’t show any image.
Then I cleaned the solder joints with PCB cleaner and now I get the image. For now, the console seems to be working.
I’ll just have to charge the battery now, because it says “battery low”., even when I plug in the charger. Is this normal? Voltage is 3454 mV, the charger shows a red light.
Hey man,
I’m unsure about how that helped, but I admire your persistency and I’m glad that it works now.
About the low battery - it’s a software glich caused by not going through the checkut wizard (we’ll fix it in the new firmware update), I’ll answer to your other post as well
Hi Albert,
running the setup wizard helped, the battery problem is gone now. I was able to play for about 30 minutes, then the screen turned blank and there was no sound and no reaction to any button press anymore. The backlight is still working, but apparently, the ATMega isn’t doing anything. No sound when I turn it on, reset does not work.
I guess I will send you the console for repair?
Thank you for developing such a cool console, enabling us to enjoy making this, show our children how to solder things etc. I also admire your positive attitude on the forum!
Best regards,
Tobias
hey Tobias,
Please don’t send me the console just yet, let’s try this first:
When you interrupt the loading process, the console’s memory will be blank so you have to do a hard reset like this:
-
insert the SD card
-
turn the console OFF
-
hold the C button
-
turn the console ON
-
release the C button
-
wait for 30 seconds
The SD card loader menu should appear.
This was also mentioned in build guide’s chapter #4 (under the yellow section marked “IMPORTANT”)
https://www.makerbuino.com/build-4-some-more-soldering/
Please, tell me if this helps.
Thanks!
Hey Albert,
I though I had tried this before, but this time it helped: the sound is back, and the screen showed the menu.
I hope it is fixed for good now.
Thank you again for the help!
1 Like
Hey @twister1398, I’m glad this helped. If something stops working, don’t hesitate to tell me!
Hello @albertgajsak ! I have almost the same issue as @twister1398.
It worked fine on step 12 but now the screen is turning on, showing the “Adjust Contrast” display, then it starts to blink and eventually turns off leaving just the backlight.
I have no idea what to do
Hey,
My colleague @marijaCM will follow up and assist.
Thank you for your patience and don’t worry, we’ll help you out
Hi there @ShabSendra,
Thanks for reaching out!
Send us a few photos of your soldering joint and we can see if anything could be fixed.
Let’s start there 
Stay in touch,
Marija
I’ve noticed I didn’t solder the audio jack conector like in the images above.
Also I accidentaly detached the speaker black cable I’ll have to redo it properly
Hey there,
I talked to @albertgajsak about this and I have some suggestions that should definitely help.
Assemble all of the components first. Secondly, charge the battery to make sure it’s ready for use. If that doesn’t help - do the hard reset like this:
- insert the SD card
- turn the console OFF
- hold the C button
- turn the console ON
- release the C button
- wait for 30 seconds
The SD card loader menu should appear.
And finally, keep up updated
-Marija